Create Origin Pools
Before we create an HTTP load balancer to expose our services on the internet, we’ll define “Origin Pools” for our application’s services.
This initial Origin Pool will use the Public DNS record of our target webserver to locate the IP address of the Origin Pool members. This is an example of using the Public Internet to route traffic to our services. In later examples we will look at routing traffic via XC Mesh to our services.
Exercise 1: Create Public Origin Pool
We will first create an Origin Pool that refers to the “Public Endpoint” site in our lab environment.
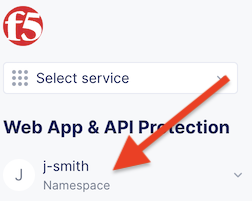
Start in F5 Distributed Cloud Console and switch to the Web App & API context. [You should already be here from previous lab]
Ensure you have selected your assigned namespace
Navigate the menu to go to “Manage”->”Load Balancers”->”Origin Pools”. Click on Add Origin Pool.
Enter the following variables:
Variable
Value
Name
public
Click on “Add Item” under the section “Origin Servers”
Enter the following variables:
Variable
Value
Select Type of Origin Server
Public DNS Name of Origin Server [default]
DNS Name
public.lab.f5demos.com
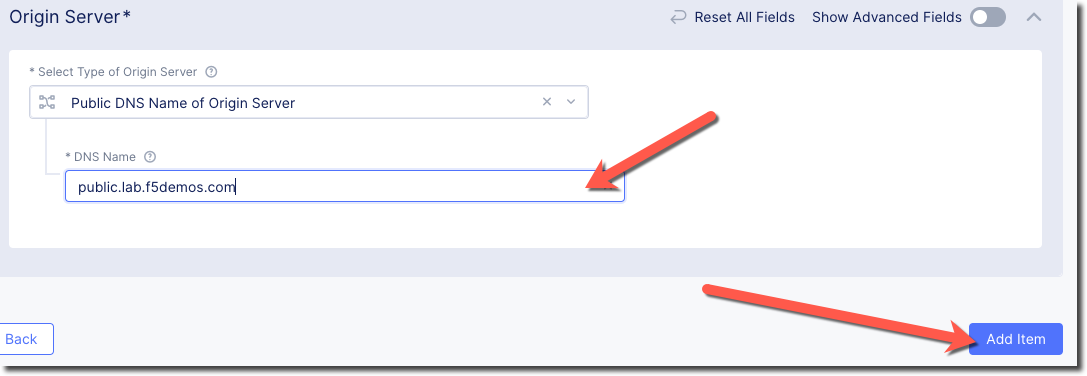
Click on “Add Item” to return to the previous screen.
Below the “Origin Servers” section fill in the Port information
Variable
Value
Port
80
Under the List of Health Check(s) section, click the Add item button.
Click the Health Check object dropdown list. Click the Create new healthcheck button.
Enter the following variables:
Variable
Value
name
http
Click the Configure button under “HTTP Health Check” and enter the following variables (“/” is the default):
Variable
Value
path
/
Click Apply to exit the “Health Check HTTP Parameters” dialogue.
Click Continue to return to the “Origin Pool” configuration.
Click the Save and Exit button to create the Origin Pool.