Create WAF Policy
F5 Distributed Cloud WAF shares the same WAF engine that is used by F5 BIG-IP Advanced WAF and F5 NGINX App Protect.
The F5 Distributed Cloud WAF engine provides preset categories of rules to protect your web applications, provides the ability to run in a monitor or blocking mode, prevent false positives by excluding individual rules, IP addresses, or web application paths
In the next exercise you will configure a basic WAF policy
Exercise 1: Create WAF Policy
We will create a blocking WAF policy.
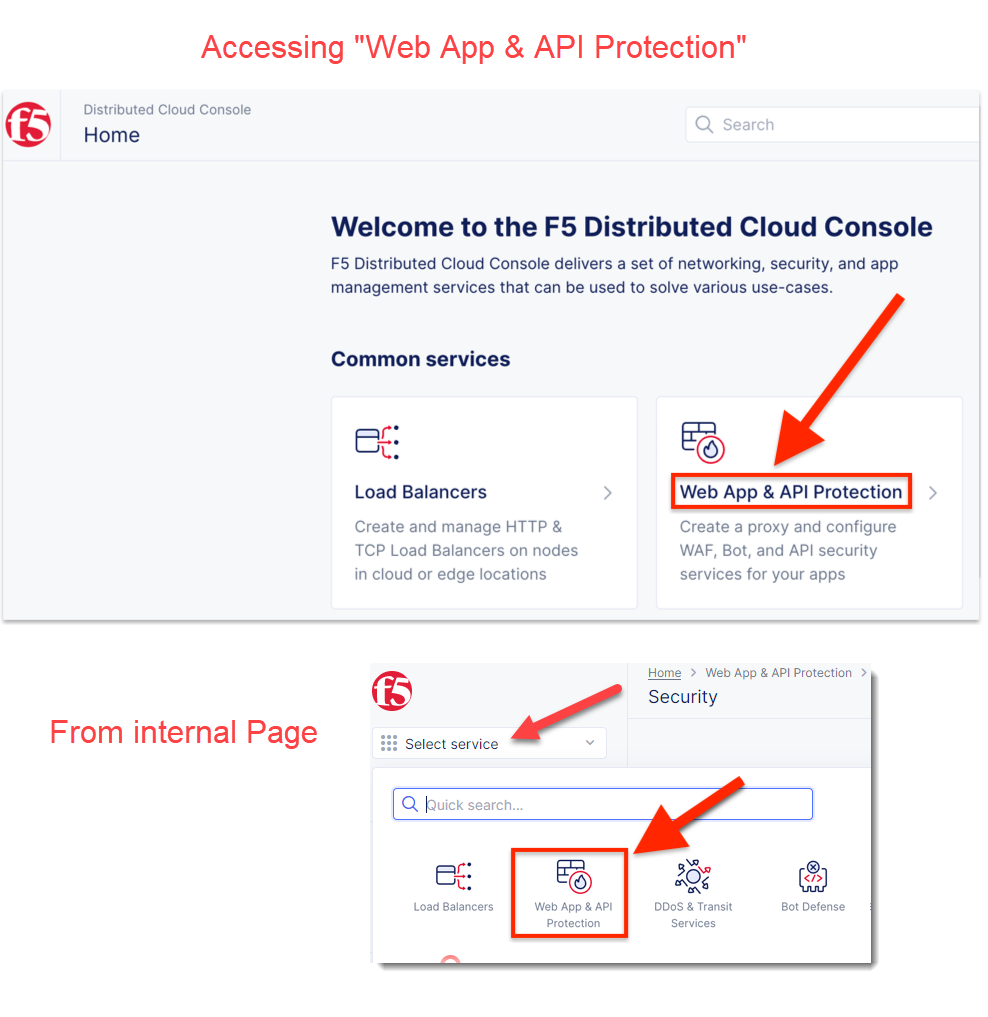
Start in F5 Distributed Cloud Console and switch to the Web App & API Protection context. It can be accessed either from the main Home page or via the “Select Service” menu on a Page
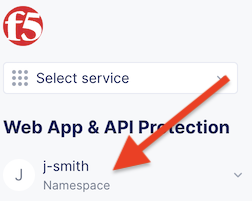
Ensure you have selected your assigned namespace
Navigate the menu to go to “Manage”->”App Firewall”. Click on Add App Firewall.
Enter the following variables:
Variable
Value
Name
blocking-app-firewall
Enforcement Mode
Blocking
In this mode we have change the policy to block attacks that are included in the default policy. Later we will look at how we can customize these settings.
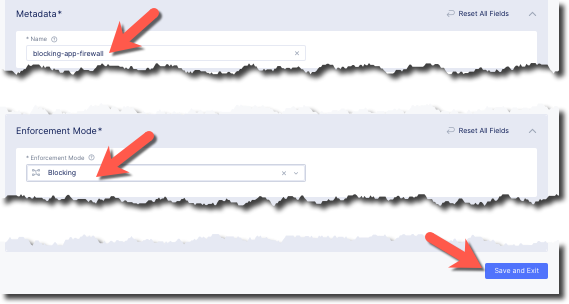
Click the Save and Exit button to create the policy
Exercise 2: Create AI & ML App Setting
AI & ML App Setting profile allows for enhanced learning and behavioral analysis for all endpoints defined in a particular namespace. For the purposes of this lab, it allows for detection of Malicious Users and DoS attacks.
Note
Only one AI & ML Setting can be configured per namespace.
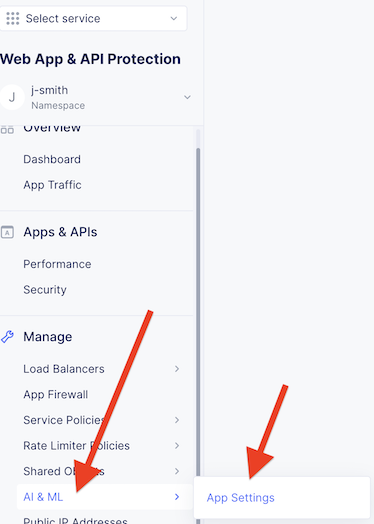
Navigate the menu to go to “Manage”->”AI & ML”->”App Settings”. Click on Add App Setting.
Enter the following variables:
Variable
Value
Name
x-surname-ml
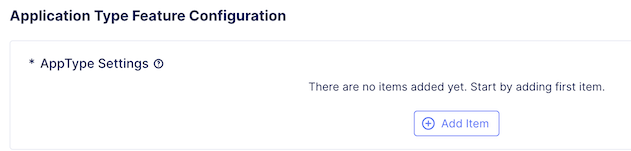
Under Application Type Feature Configuration, click “Add Item”
From AppType Pulldown, select “shared/test-ml”
Under DDoS protection, click “Configure”
In the following menu click “Add Item” under Metric Selectors
Enter the following information:
Variable
Value
Metrics Source
All Services
Metrics
Request Rate, Error Rate, Latency, Response Throughput
Click “Apply” once you have entered the above information
Click “Apply” once more to bring you back to the main App Setting configuration menu
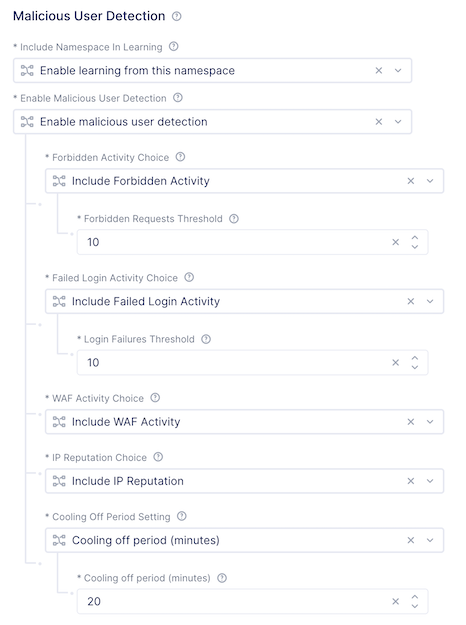
Click “Configure” under Malicious User Detection
Observe the options, but leave all settings at their default and click “Apply”
Click “Apply” once more, and then “Save and Exit” to complete the App Setting configuration for your namespace
Video Walkthrough
Optional Video you can watch if you get stuck
Note that each of the videos will start at a specific timestamp.
The entire video is 10 minutes total from start to finish.