Create HTTP Load Balancer on F5 Distributed Cloud Regional Edge
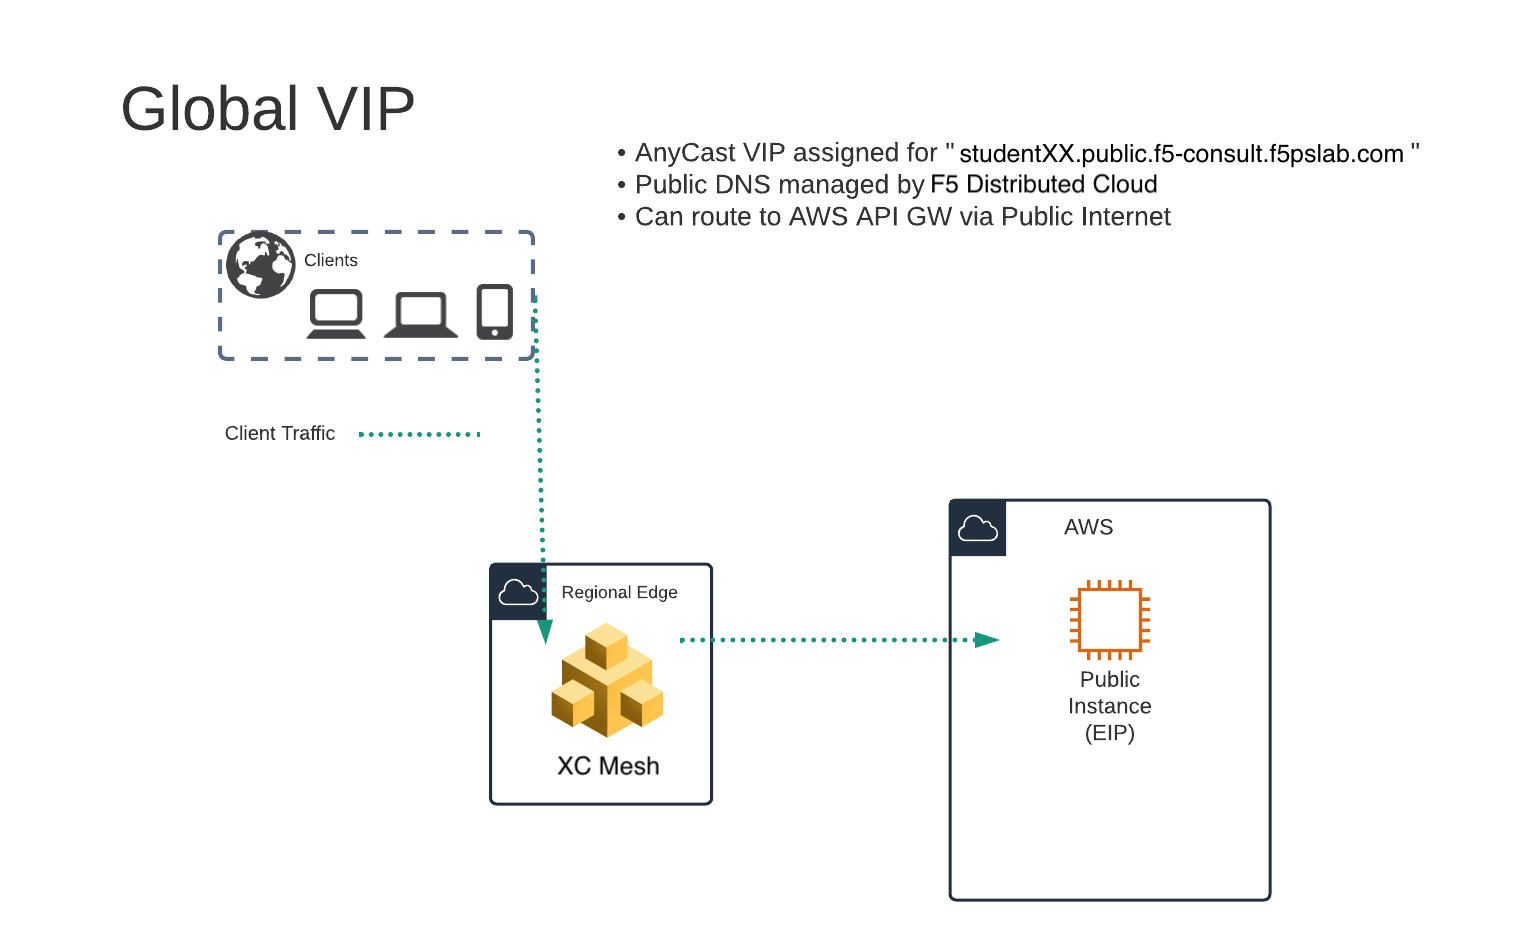
In this exercise we will be creating a “Global VIP” that will exist on the F5 Distributed Cloud Global Network.
It will protect a public resource that exists in the lab’s AWS Lab Environment.
Exercise 1: HTTP Load Balancer Configuration
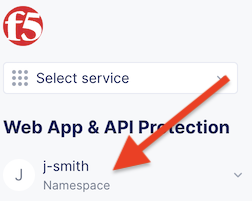
Start in F5 Distributed Cloud Console and switch to the Web App & API context. [You should already be here from previous lab]
Ensure you have selected your assigned namespace
Navigate the menu to go to “Manage”->”Load Balancers” -> “HTTP Load Balancers” and click on “Add HTTP Load Balancer”.
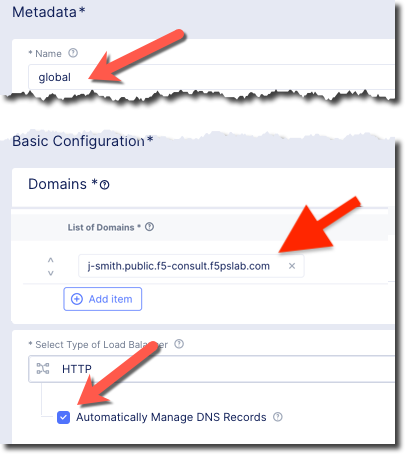
Enter the following variables:
Variable
Value
Name
global
Labels
ves.io/app_type test-ml
Domains
x-surname.public.f5-consult.f5pslab.com
Select type of Load Balancer
HTTP
Automatically Manage DNS Records
Yes/Check
Exercise 2: Configure Default Origin Server
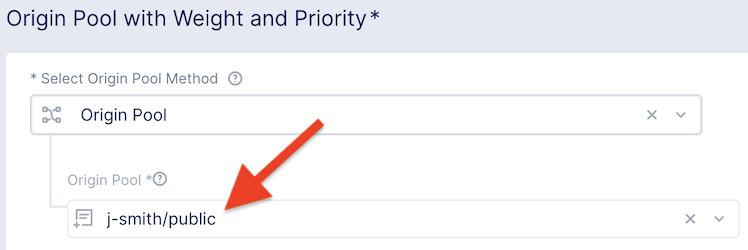
We’ll next configure the “Default Origin Servers”.
Click on the Add Items link under the Default Origin Servers section.
The “Select Origin Pool Method” will be set to “Origin Pool”. Under the “Origin Pool” dropdown menu select the “public” pool you created earlier.
Click the Add Item button to exit the “Origin Pools” dialogue.
Notice that in the “VIP Configuration” section Advertise On Internet has been selected by default.
Exercise 3: Configure Bot Protection
F5 Distributed Cloud Bot Defense helps us identify attacks and allow us then to easily block them.
Perform the following steps to see how easy it actually is to set up and use the service:
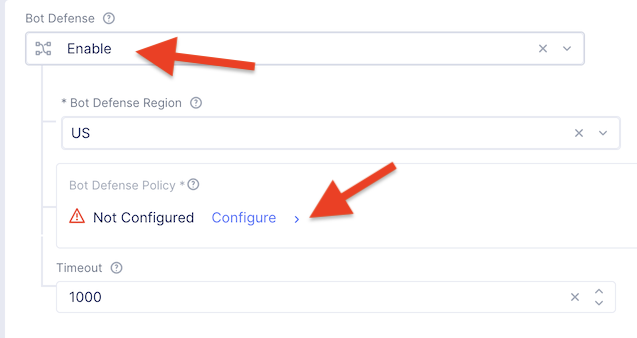
Under the Security Configuration section, scroll to Bot Defense and set it to Enable by in the drop-down menu. The Regional Endpoint is US due to its closer proximity to our sample app user base.
Click Configure to configure Bot Defense Policy.
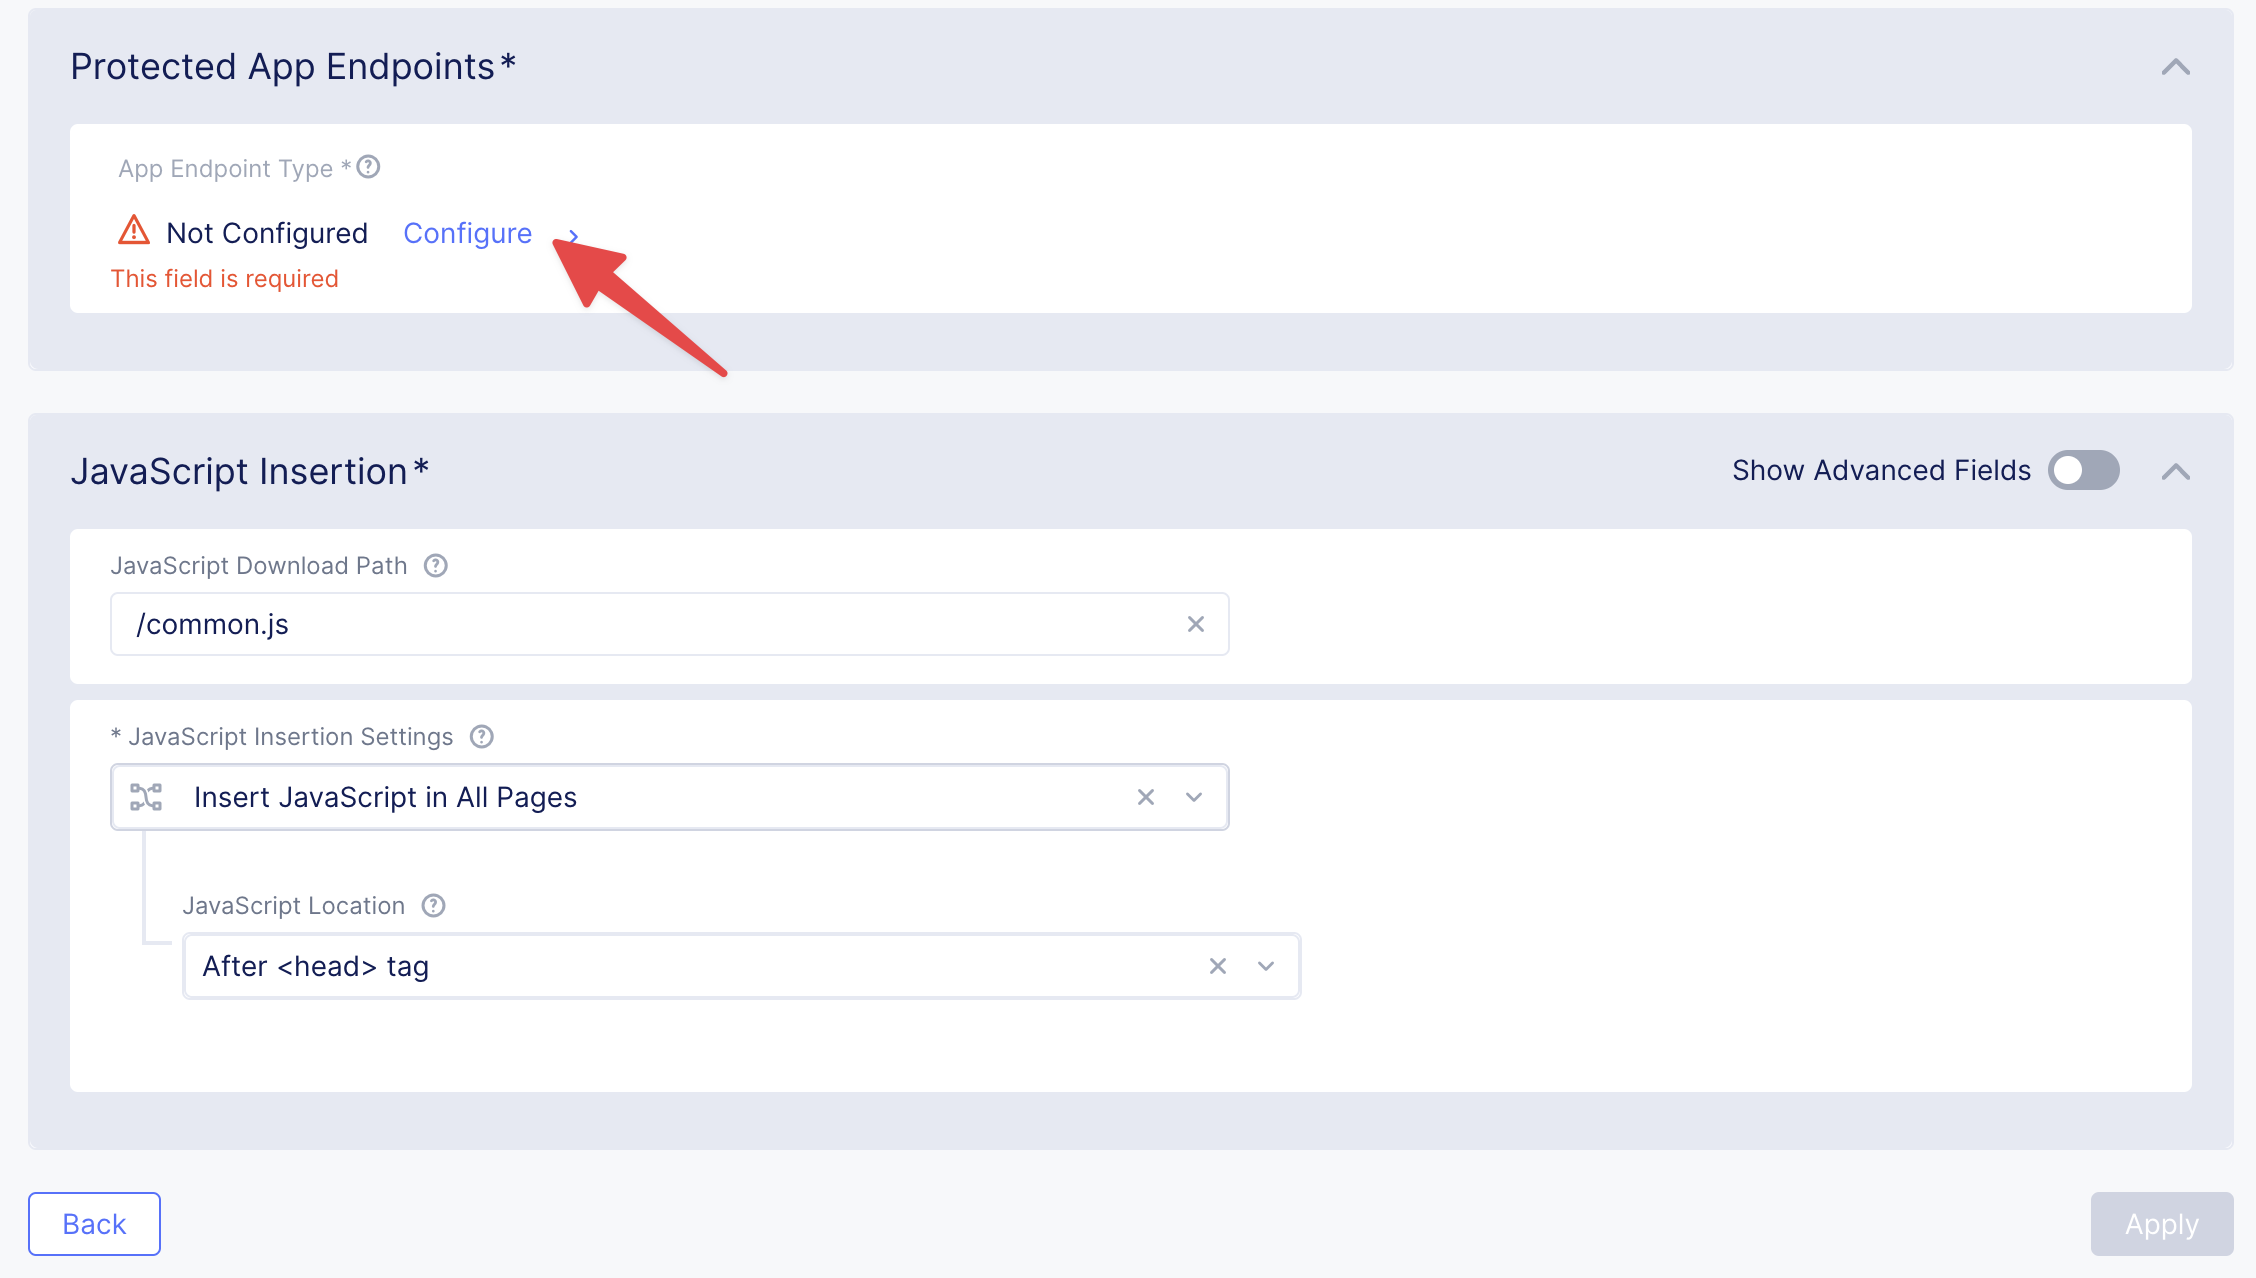
Next, we need to configure an App Endpoint, which will contain the policies and actions to protect the specific resource in our app that’s used for adding ratings. To do that click Configure.
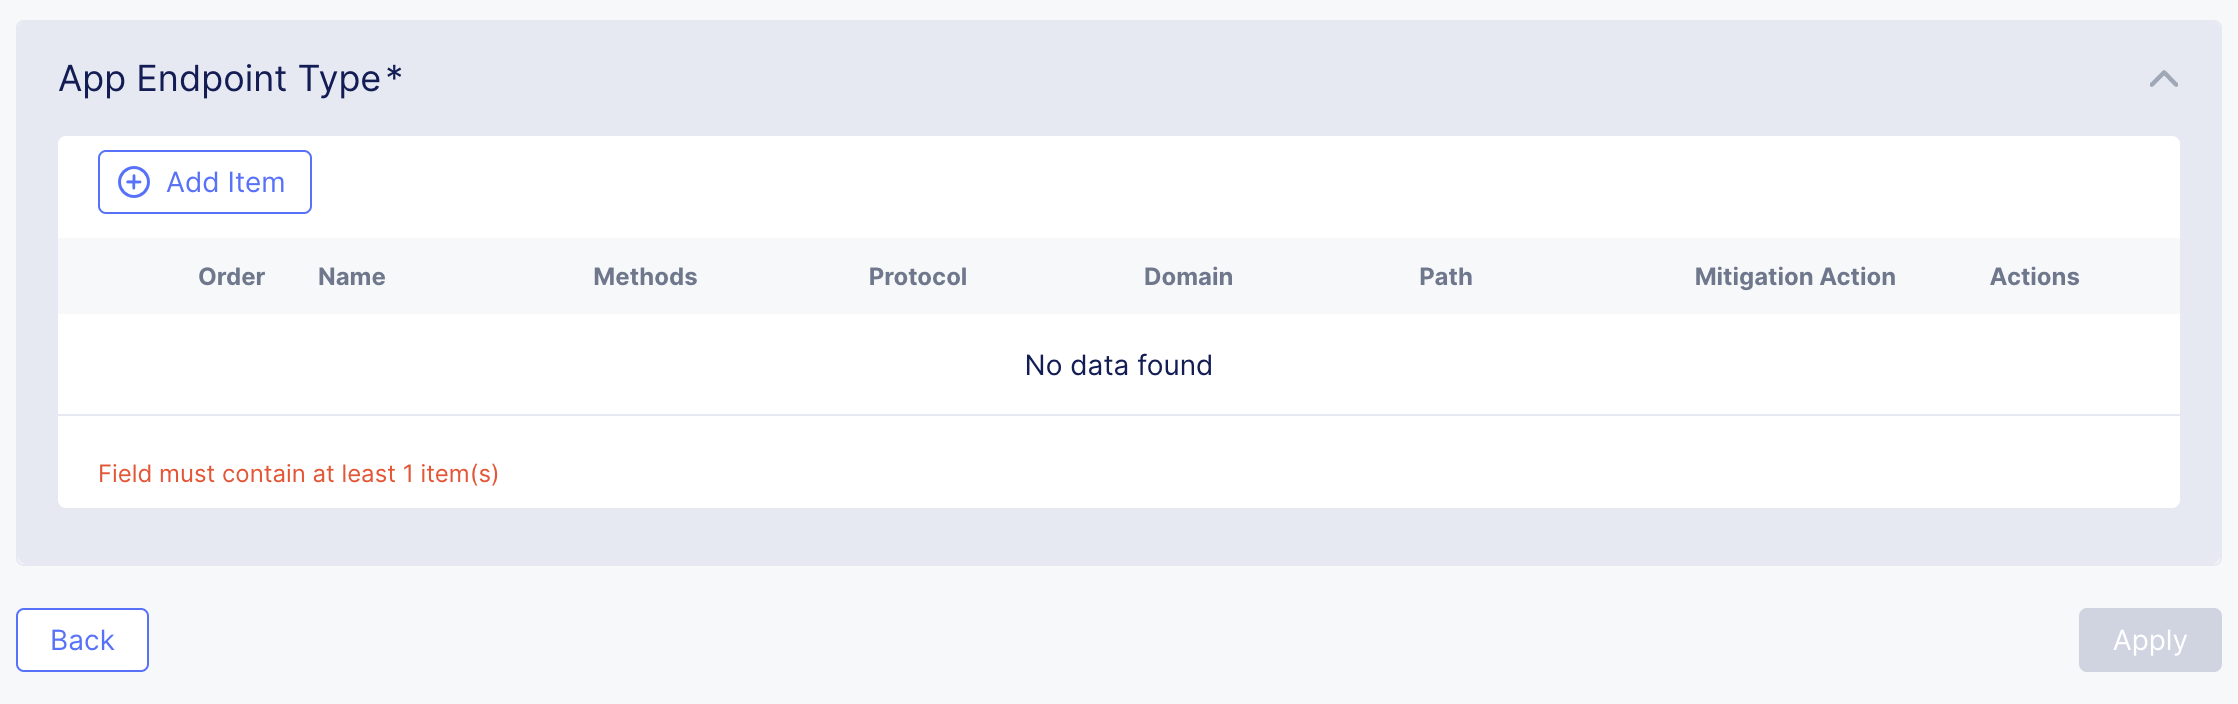
Click Add Item to start adding an endpoint.
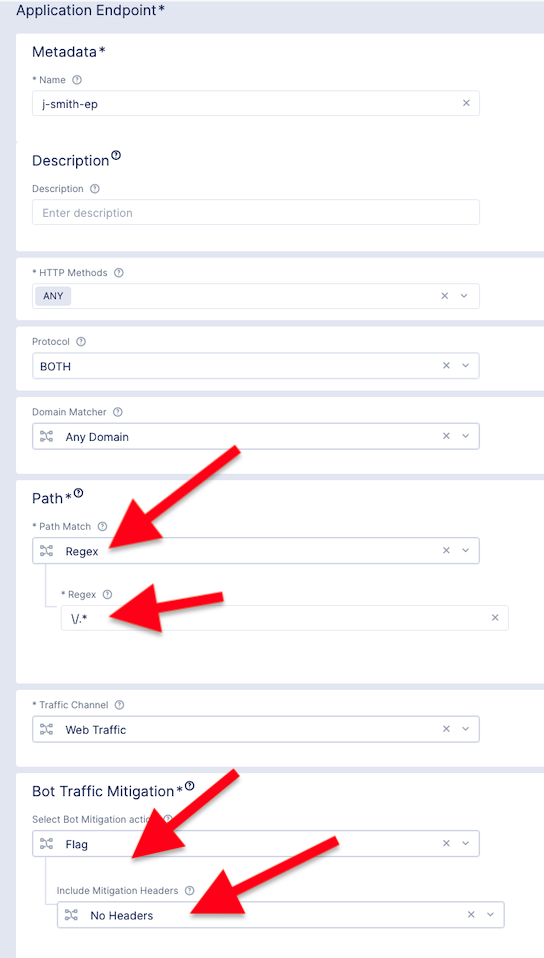
Name the endpoint and then select HTTP Methods.
Add ANY to the HTTP Methods.
Scroll down to Path Section. Under Path Match Choose Regex
Scroll down and fill in the Regex field with - \/.*
Then set Bot Traffic Mitigation options to Flag action for identified bot traffic, and leave all other settings as default.
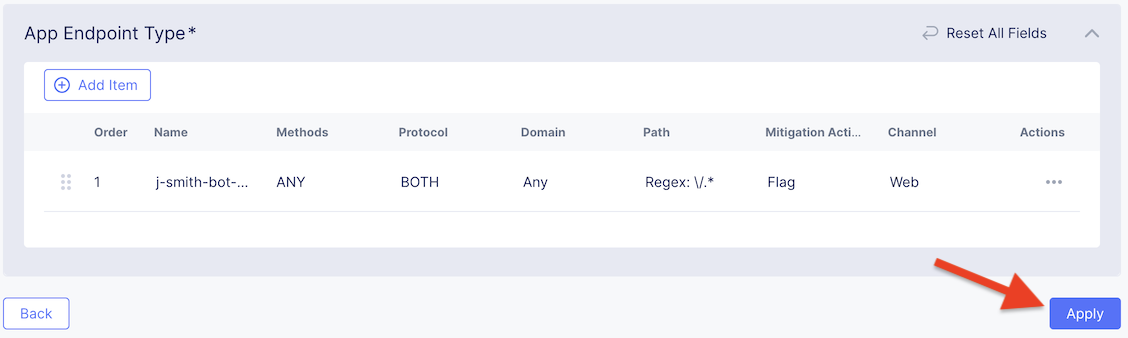
Go ahead and click Add Item to complete the App Endpoint setup.
We’ve just defined the policy to protect our vulnerable app resource with Bot Defense enabled.
Now, click Apply to confirm.
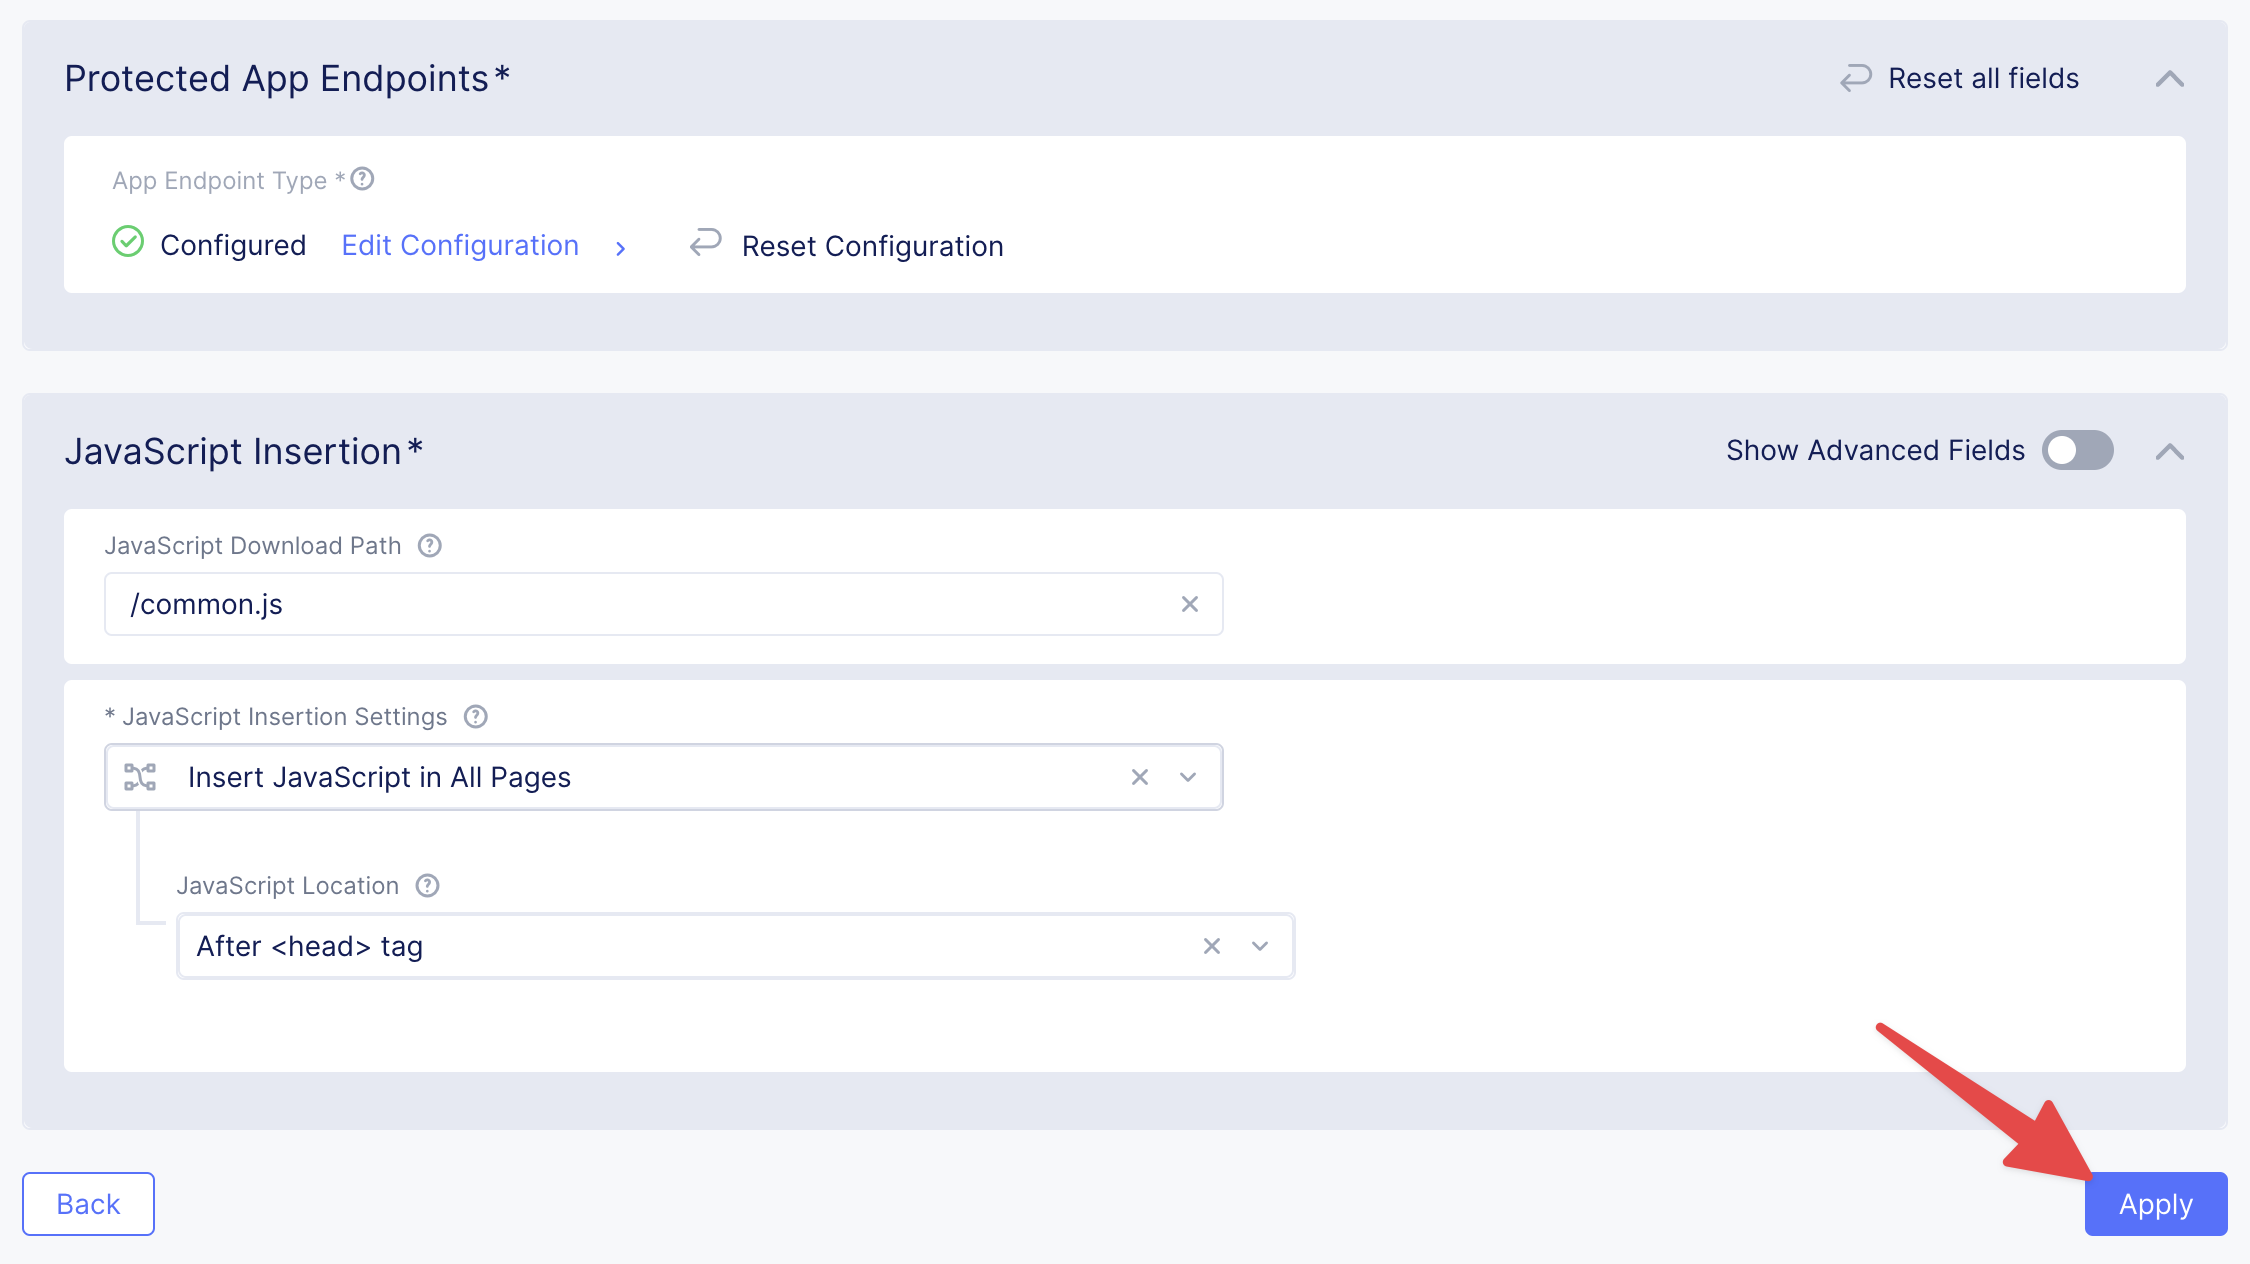
Click Apply to apply the configured Bot Defense Policy.
Exercise 4: Configure WAF Policy
Under the Security Configuration section
Enter change Web Application Firewall from Disable to Enable
From the Enable option below select the Web Application Firewall blocking-app-firewall
..image:: ../_static/waf-assign.png
Click “Save and Exit to create the HTTP Load Balancer.
Once the HTTP Load Balancer has been deployed, you should now be able to go to the DNS name that you entered previously in a web browser. The FQDN we used in our example is http://x-surname.public.f5-consult.f5pslab.com. Your FQDN should follow the format of [unique name].[supplied domain name for your tenant].
Note
If you are having challenges connecting to the f5-consult.f5pslab.com name you can also try connecting to the “ves.io” CNAME.
Exercise 5: Verify Configuration
The public demo app should look like the following:
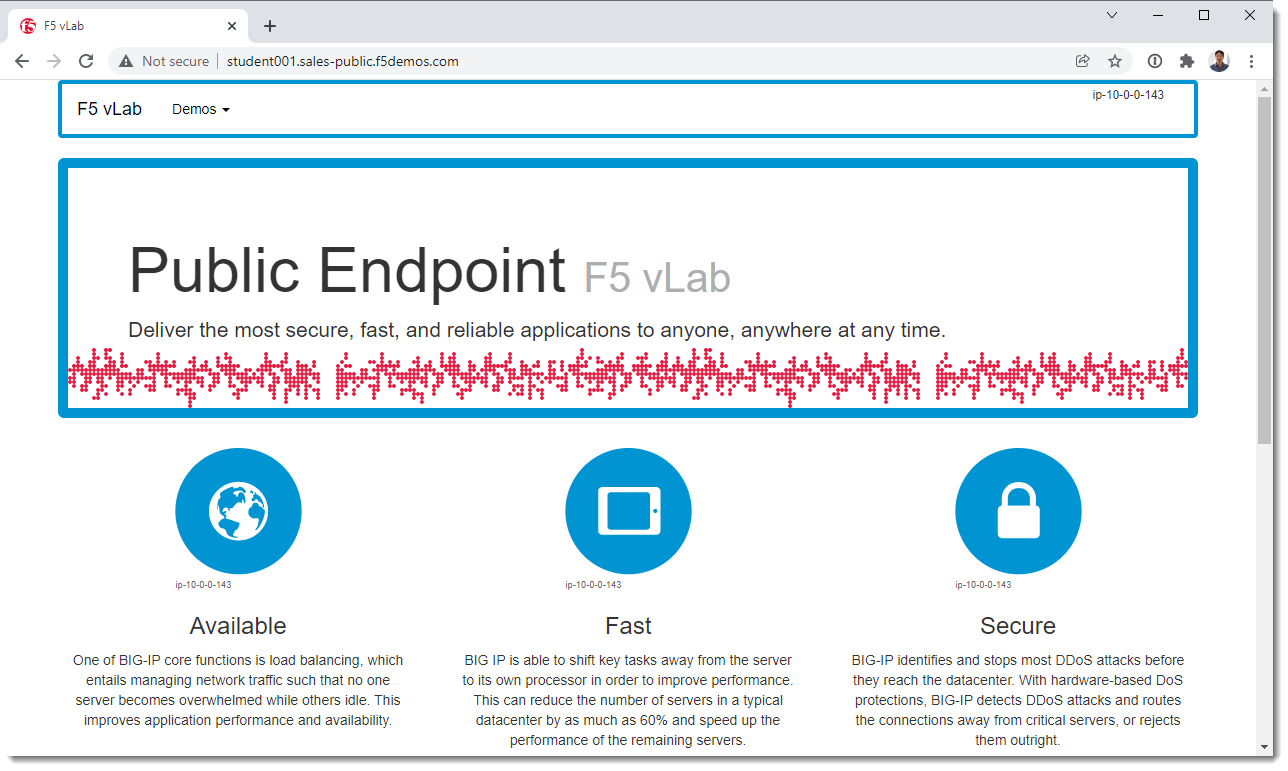
In this topology we are sending traffic to an AnyCast IP that is hosted in F5 Distributed Cloud’s Regional Edge.
We then connect to the AWS resource via it’s Public IP address.
Try adding the following to the URL “/?cmd=cat%20/etc/passwd”.
You should see a block page.
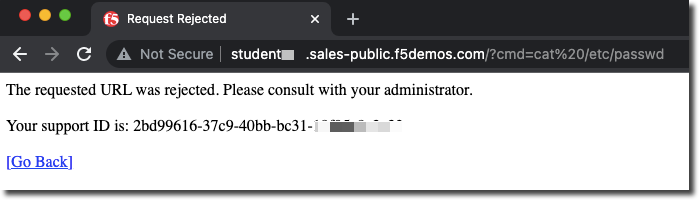
Note
If you are not seeing a support ID in the blocking response page, it is likely due to the Bot Protection config. Please ensure the Bot Config App Endpoint config is set to Flag and not Block
Exercise 6: Performance and Security
Start in F5 Distributed Cloud Console and switch to the “Web App & API Protection” context. [You should already be here from previous lab]
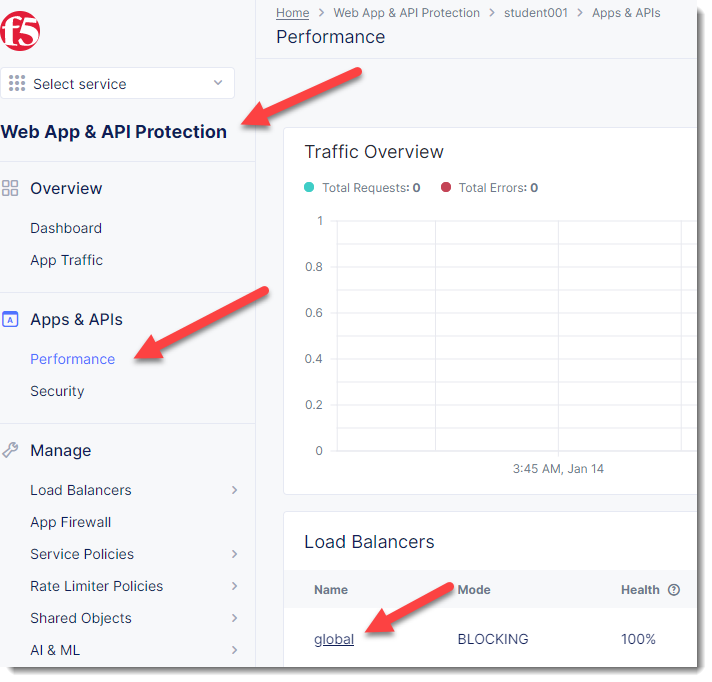
We can view details of successful requests and blocks by navigating to “Apps & APIs”
Click on “Apps & APIs”->”Performance” and click on your “global” Load Balancer (bottom right)
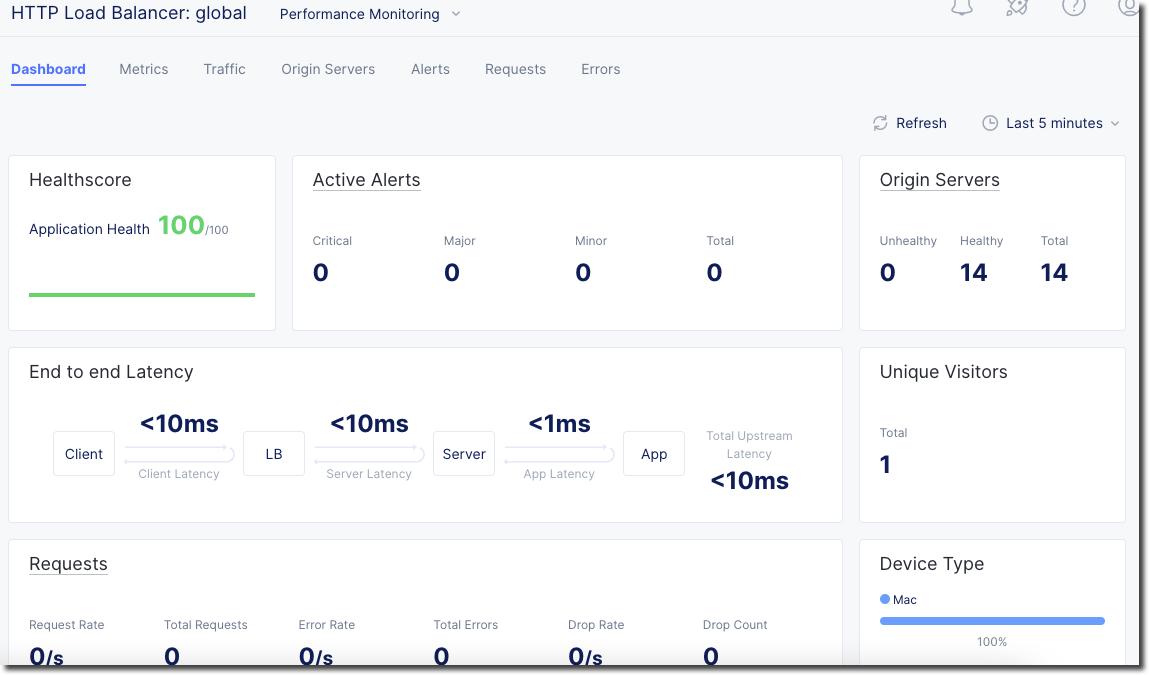
You will see a health score of your application as well as end to end latency of the connection.
Click on “Requests” in the upper page navigation
You should be able to view logs for individual requests.

Click on “Apps & APIs”->”Security” and click on your “global” Load Balancer (bottom right)
Click on “Security Events” You will be able to see details of the security events.
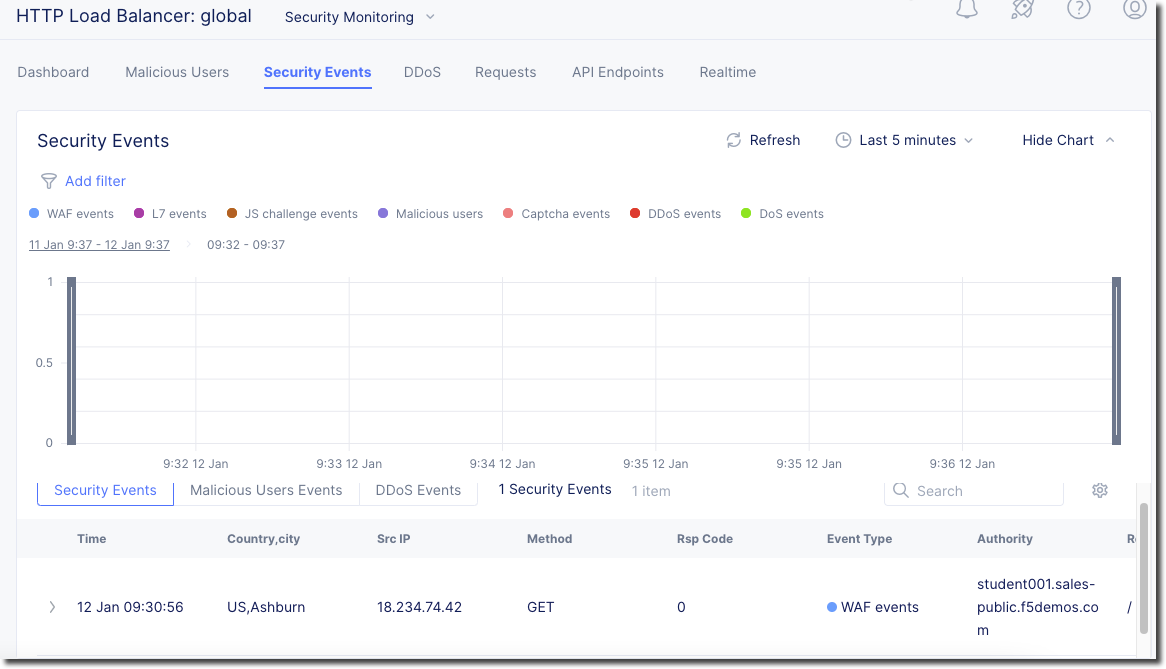
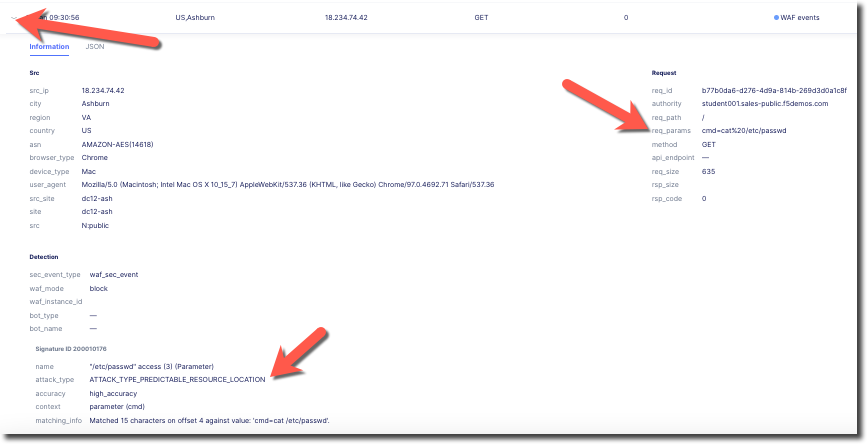
Clicking on the arrow to the left of a security event will expand the details.
Next we will demonstrate how we can securely connect to your private AWS resources via a F5 Distributed Cloud Mesh node.
Video Walkthrough
Optional Video you can watch if you get stuck

You have reached the end of this lab. For instructor-led courses, do not continue until instructed to do so.