Create AWS F5 Distributed Cloud Site
In this section we will use F5 Distributed Cloud Console to create an AWS VPC and a new F5 Distributed Cloud Site in that VPC. Before building the F5 Distributed Cloud Sites, we will create a VPC and associated network policies.
Exercise 1: Create Cloud Credentials
Note
Based on the selected region for your UDF deployment we recommend that you use the following AWS region and Availability Zone during this lab.
Variable |
Value |
|---|---|
Region |
us-west-2 |
Availability Zone |
us-west-2a |
When you access the AWS Console (not required during this lab) make sure that you select the same region to view any resources created by F5 Distributed Cloud.
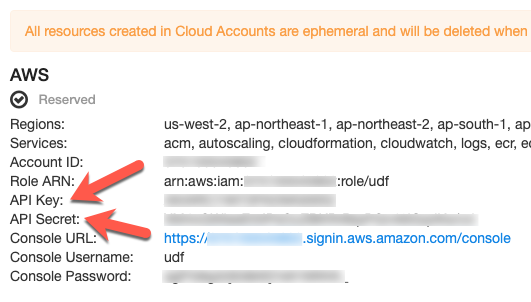
In your UDF deployment there is a Cloud Accounts tab that contains related information about the ephemeral AWS account created for you. Take note of your API Key and API Secret. If you are using a UDF Course to access this lab the information will be at the bottom of the “Documentation” tab.
Important
API Key should not be confused with the Account ID in the below screenshot. This will cause an issue with the terraform apply of the AWS site.
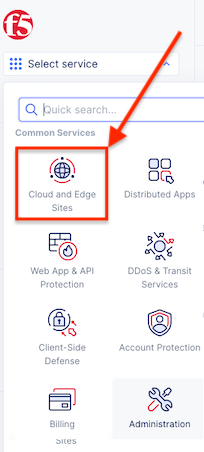
In F5 Distributed Cloud Console switch to the Cloud and Edge Sites context.
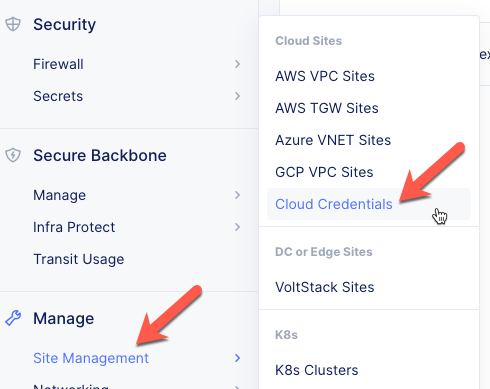
Navigate the menu to Manage -> Site Management -> Cloud Credentials
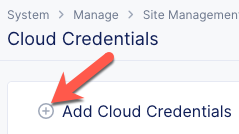
Click on the Add Cloud Credentials button.
Enter the following variables, substituting your information:
Variable
Value
Name
your_namespace-aws
Access Key
API Key from your UDF Cloud Accounts tab
Under the Secret Access Key section, click the Configure link.
Select Text as the type. DO NOT SELECT Blindfold type
Enter the following variables:
Variable
Value
Type
Paste your API Secret from the UDF Cloud Accounts tab
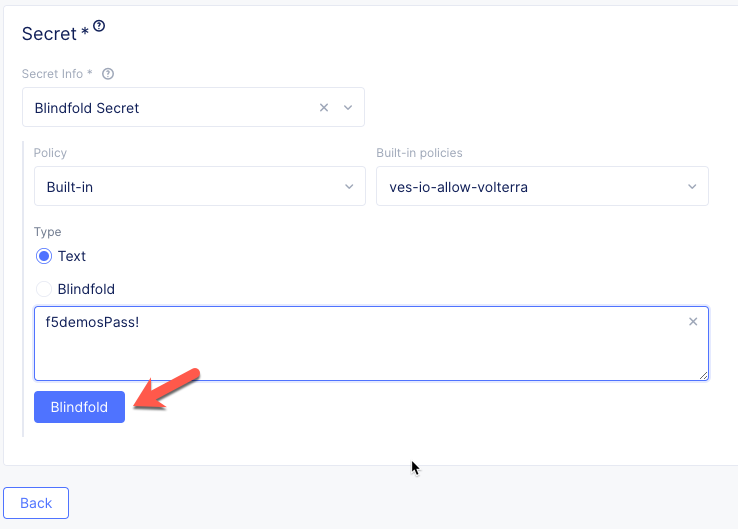
Warning
Click on the “Blindfold” button, do not click on the radio button!
Click the Blindfold BLUE button. This encrypts your AWS cloud account API key.
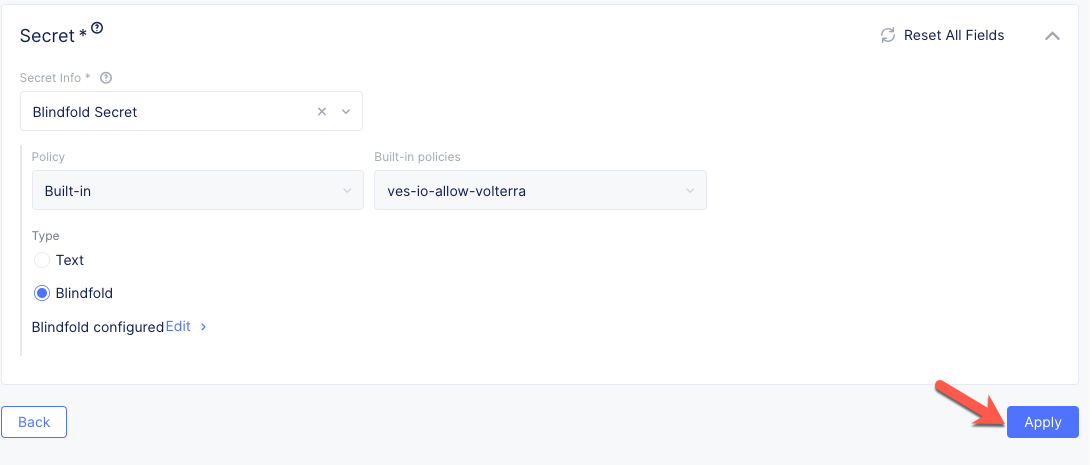
Click the Apply button. This saves the Secret configuration.
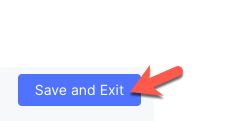
Click the Save and Exit button.
Note
By design you will not be able to extract the cleartext value of the blindfolded secret. If you need to change the API secret, you can delete the Cloud Credential and create a new one.
Exercise 2: Create Network Policy
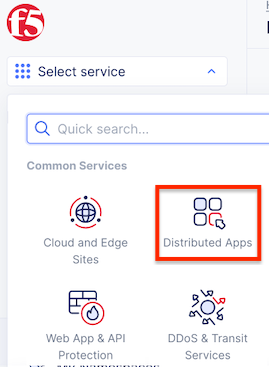
Switch to Distributed Apps context
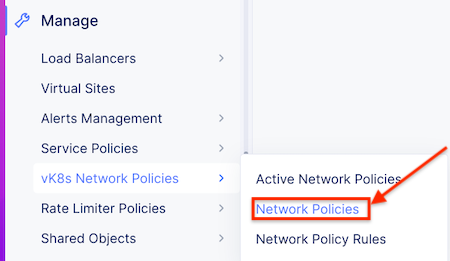
Navigate the menu to Manage -> vK8s Network Policies -> Network Policies.
Click the Add network policy button.
Enter the following variables:
Variable
Value
Name
your_namespace-aws
Under the IPv4 Prefix List.
For the prefix, enter: “10.0.0.0/8”.

Under the Connections to and from Endpoints section, click the Configure link next to Ingress Rules.
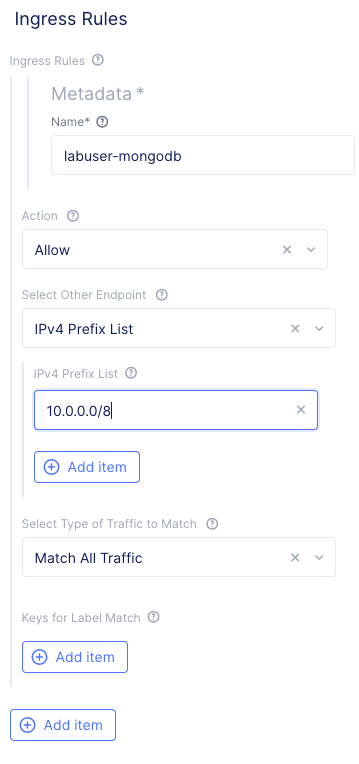
Click the Add item button under Ingress Rules.
Enter the following variables:
Variable
Value
Name
your_namespace-mongodb
Action
Allow
Select Other Endpoint
IPv4 Prefix List
Under the IPv4 Prefix List section.
For the prefix, enter: “10.0.0.0/8”.
Click the Apply button to exit the Ingress Rules dialogue.
Click the Save and Exit button to exit the Network policy dialogue.
Exercise 3: Create AWS VPC via Terraform
Using the “Web Shell” or “ssh” from the Client UDF component run the following commands.
$ cd ~/f5-volterra-labs-101/application/terraform/
$ terraform apply -auto-approve
After a few minutes you should get output similar to the following.
Apply complete! Resources: 18 added, 0 changed, 0 destroyed.

Outputs:

AWS_CONSOLE = "https://123456789.signin.aws.amazon.com/console?region=us-east-1"
AWS_INSTANCE = "192.0.2.10"
EXTERNAL_SUBNET_ID = "subnet-abcd"
_VPC_ID = "vpc-1234"
Take note of the VPC_ID and EXTERNAL_SUBNET_ID values. You will use those next to create an AWS Site in the F5 Distributed Cloud Console.
Exercise 4: Create AWS VPC Site
Switch to Cloud and Edge Sites context
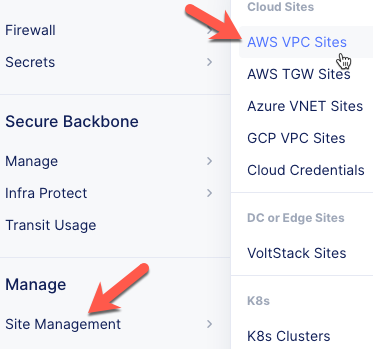
Navigate the menu to Manage -> Site Management -> AWS VPC Sites.
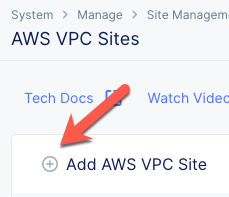
Click on the Add AWS VPC Site button.
Enter the following variables, substituting your information:
Variable
Value
Name
your_namespace-aws
AWS Region
us-west-2
Select Existing or create new VPC
Select Existing VPC
Existing VPC ID
[output from terraform]
Select Ingress Gateway
App Stack Cluster (One Interface)
Automatic deployment
The Cloud Credentials created in Exercise 1
Note
The maximum site name length is 16 characters. If your namespace is long adjust your site name accordingly.

Under the App Stack Cluster (One Interface) section, click the Configure link.
Enter the following variables:
Variable
Value
AWS AZ Name
us-west-2a
Select Existing or ..
Select Existing Subnet
Existing Subnet ID
[output from terraform]
Manage Network Policy
Active Network Policies
Network Policy
your_namespace-aws
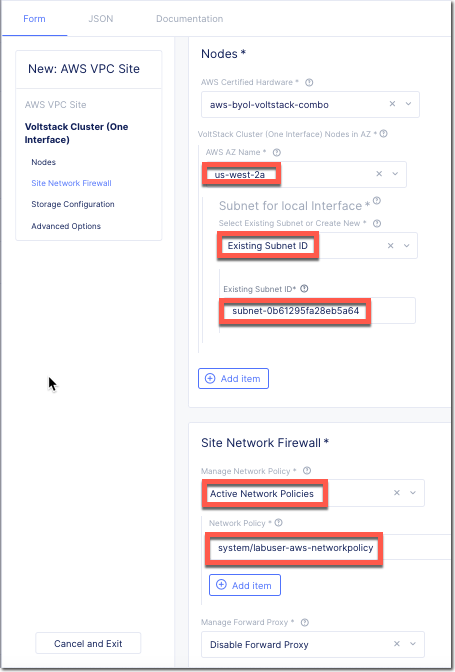
Click Apply.
Under the Site Node Parameters enter the following variables:
Note
This step is optional for the lab unless you would like to SSH into the node.
Variable
Value
Pulbic SSH key
Paste your public key
Click Save and Exit.
Refresh the page. Once present, click the Apply button.

The creation of the AWS site may take up to 10 or 15 minutes. You can proceed to the next section and we will verify the AWS site was created later in the lab.