Support ID
In the previous lab exercises you may have noticed that a “support ID” appears when you trigger a WAF block.
The requested URL was rejected. Please consult with your administrator.

Your support ID is: 218bdf56-f34a-42f4-931b-1ba5f8873353

[Go Back]
We can use the reported support ID to disable specific signatures. Copy the value into your clipboard (i.e. highlight support ID in Chrome and select “Copy” / Ctrl-C)
Note
If you are not seeing a support ID in the blocking response page, it is likely due to the Bot Protection config. Please ensure the Bot Config App Endpoint config from to Flag and not Block
Exercise 1: Generate Cross Site Scripting (XSS)
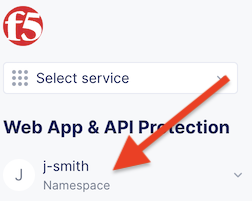
Start in F5 Distributed Cloud Console and switch back to the Web App & API Protection” context.
Ensure you have selected your assigned namespace
Send the following request to your x-surname.public.f5-consult.f5pslab.com site
/headers/?username=<script>window.open(%27hello%20world%27);</script>Retrieve the “support ID” that is displayed.
From the F5 Distributed Cloud Console go back to “Security Events” (step 4) from Exercise 6: Performance and Security
Click on “Refresh” (on the page) until you see a request that matches the time of your most recent request.

Click on “Add Filter” under Security events

Select “req_id”
Warning
If you do not see “req_id” you may need refresh your browser window. Also ensure that you see at least one event on the page.
Select the Operator “In”
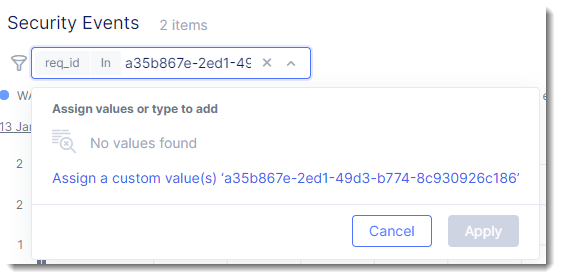
Paste in the support ID.
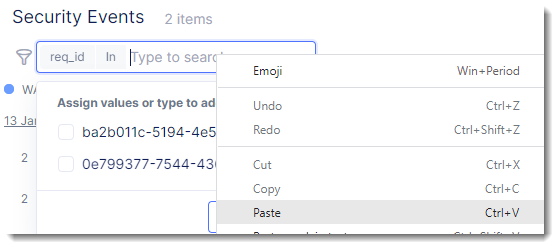
Click on “Assign…”
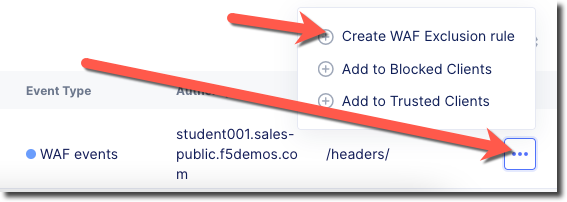
At the bottom of the page you should see the desired Security Event. Scroll to the far right to look for the “Actions” column and click on the three dots “…”
Select “Create WAF Exclusion Rule” from the “Actions” menu
Exercise 2: Creating WAF Exclusion Rule
Take note of the list of security IDs that are listed.
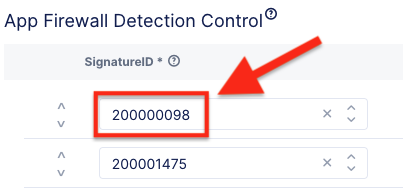
Search for one of the IDs at: https://clouddocs.f5.com/cloud-services/latest/f5-cloud-services-Essential.App.Protect-Details.html For example searching for “200000098” should return a “XSS script tag end (Headers)” signature.
Click on “Apply” you will now be taken into the HTTP Load Balancer configuration and you should see under “WAF Exclusion Rules” it should show as “Configured”
Scroll to the bottom of the page and click on “Save and Exit”
Retry visiting your site with the same URL to your x-surname.public.f5-consult.f5pslab.com site
/headers/?username=<script>window.open(%27hello%20world%27);</script>
Exercise 3: View Requests Log
We can also view requests that have been excluded from a WAF policy by viewing the requests log.
From the “Security Events” page in F5 Distributed Cloud Console click on the “Requests” menu item at the top of the page.
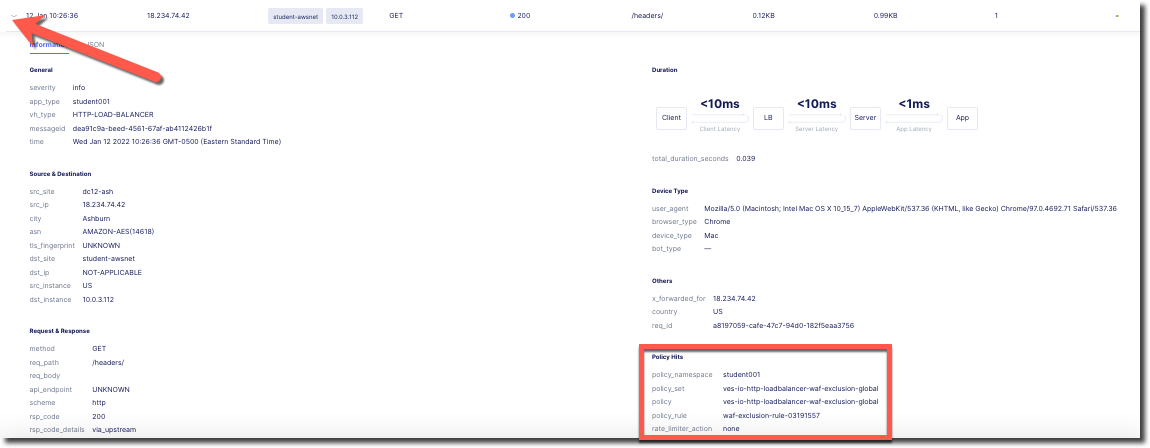
Look for a “GET” request for /headers/ and click on the arrow on the left of the date to expand the entry.
Observe that under “Policy Hits” you will see the WAF exclusion rule that was triggered.
Try visiting your site with the a different URL to your x-surname.public.f5-consult.f5pslab.com site
/txt/?username=<script>window.open(%27hello%20world%27);</script>Observe that this request is blocked. F5 Distributed Cloud WAF can exclude signatures by both signature ID and path; and these exclusions are tied to a specific HTTP Load Balancer
Additional Security Events
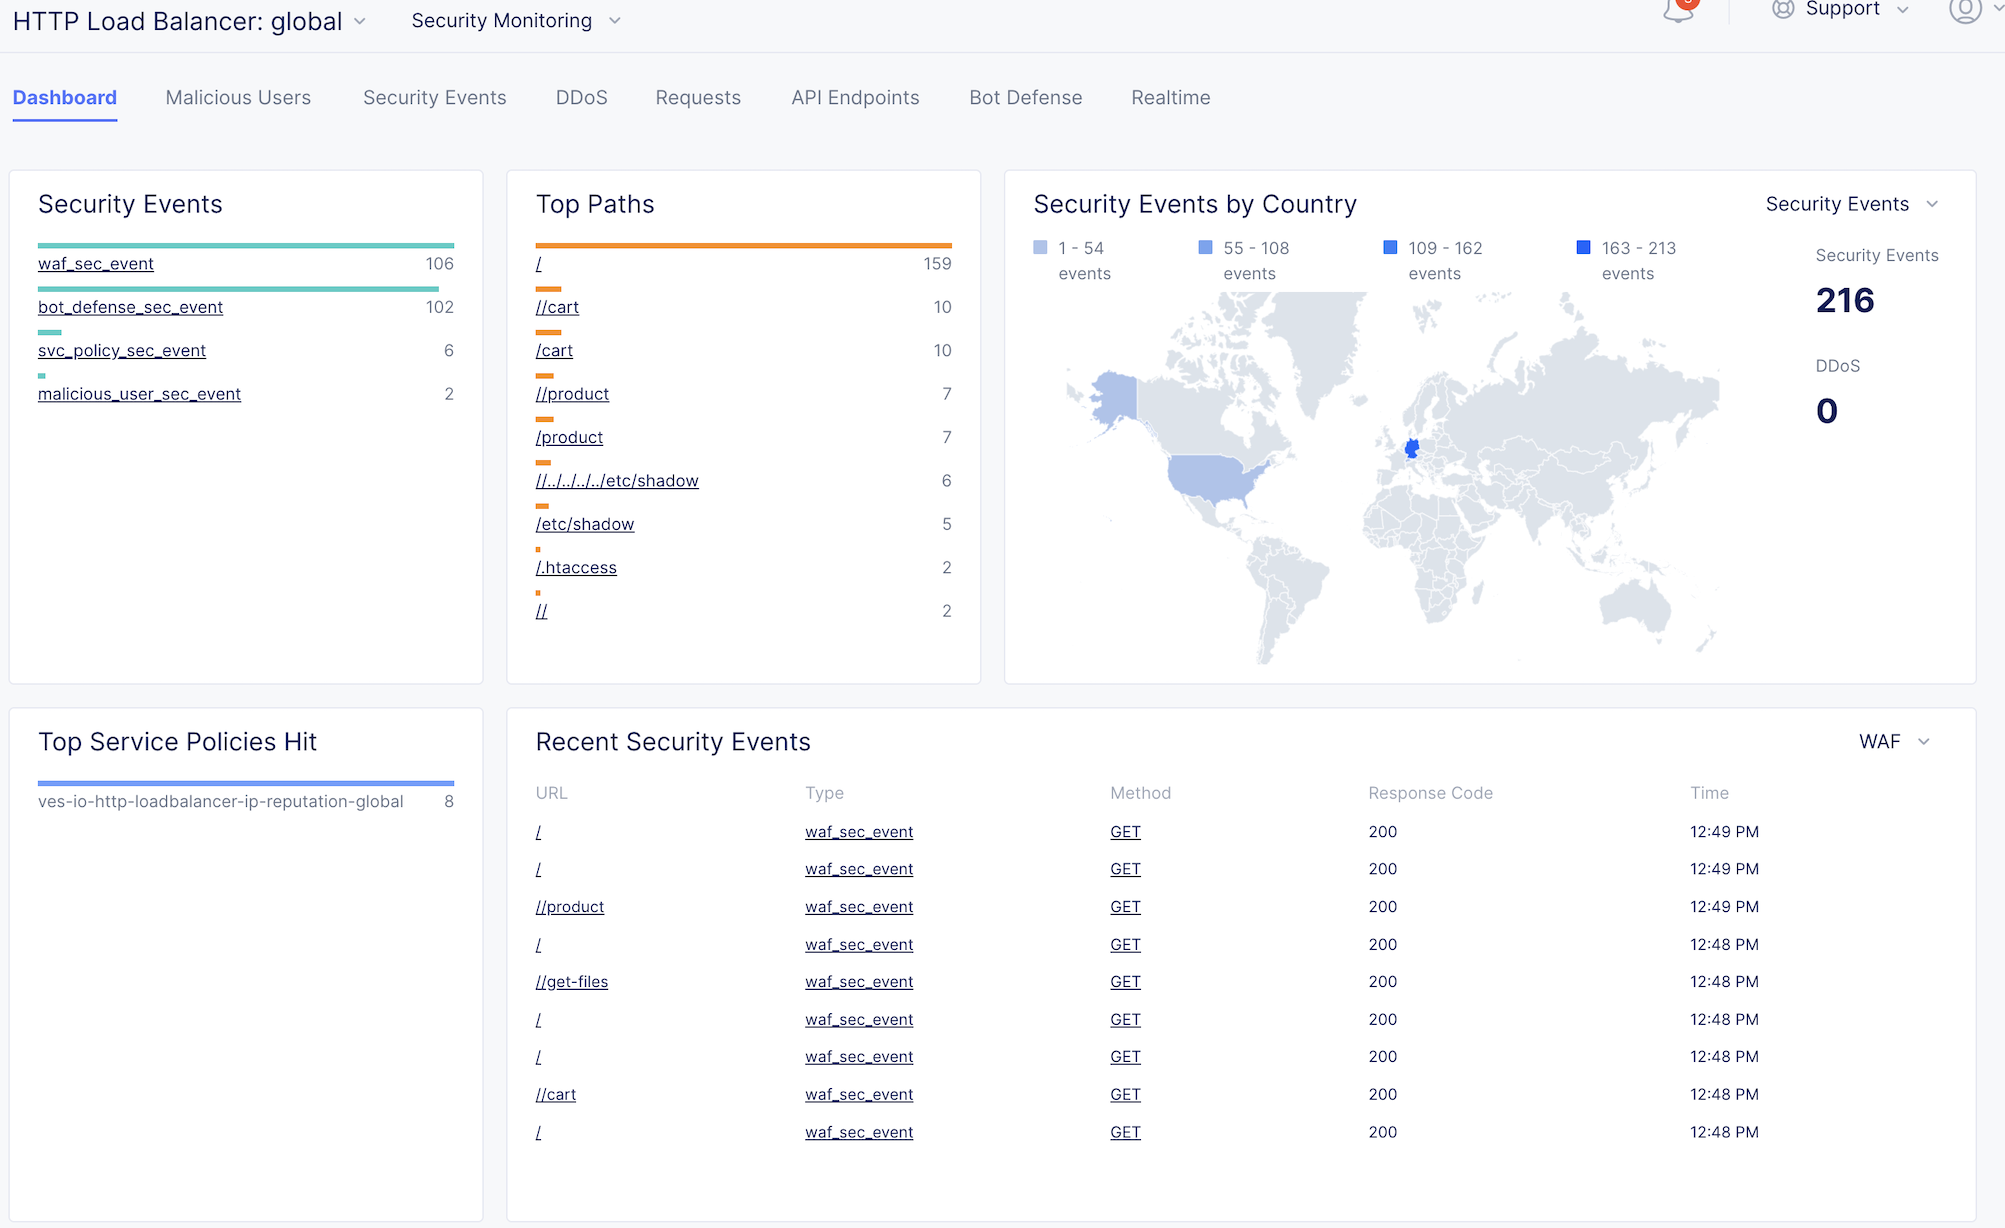
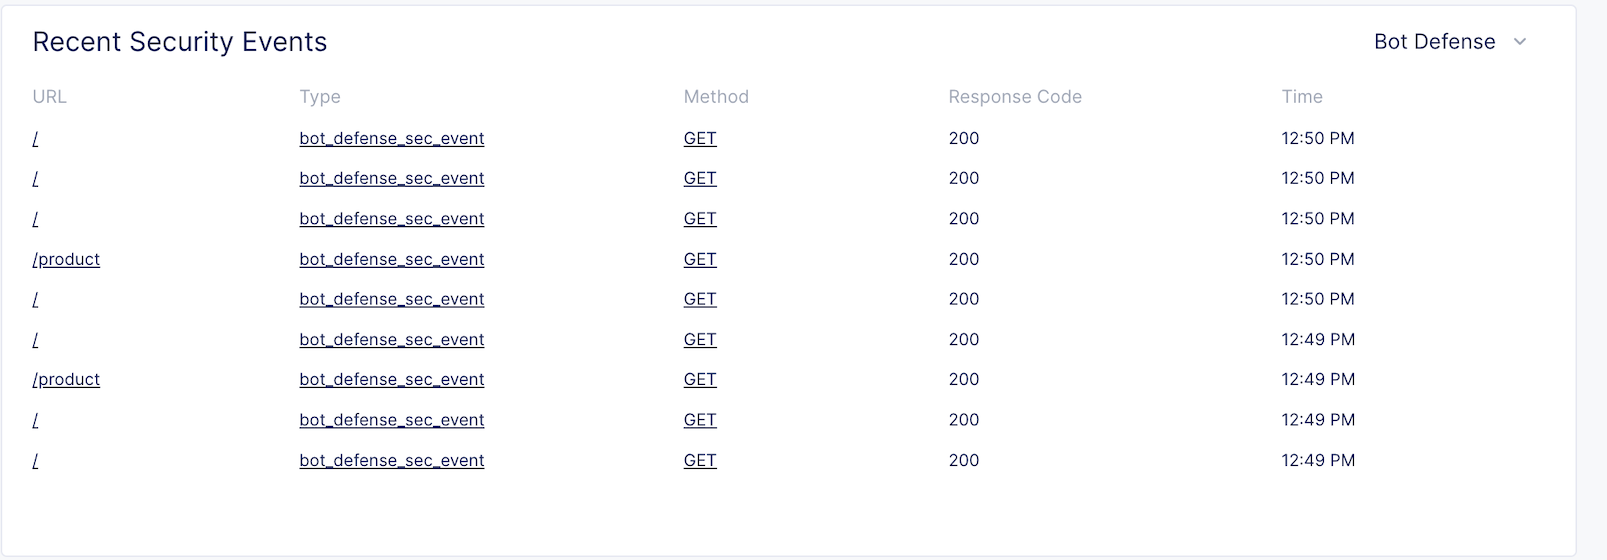
Please continue poking around the various sections of the Security Monitoring.
A traffic generator has been configured to trigger different security events to populate data for you!
Security Dashboard
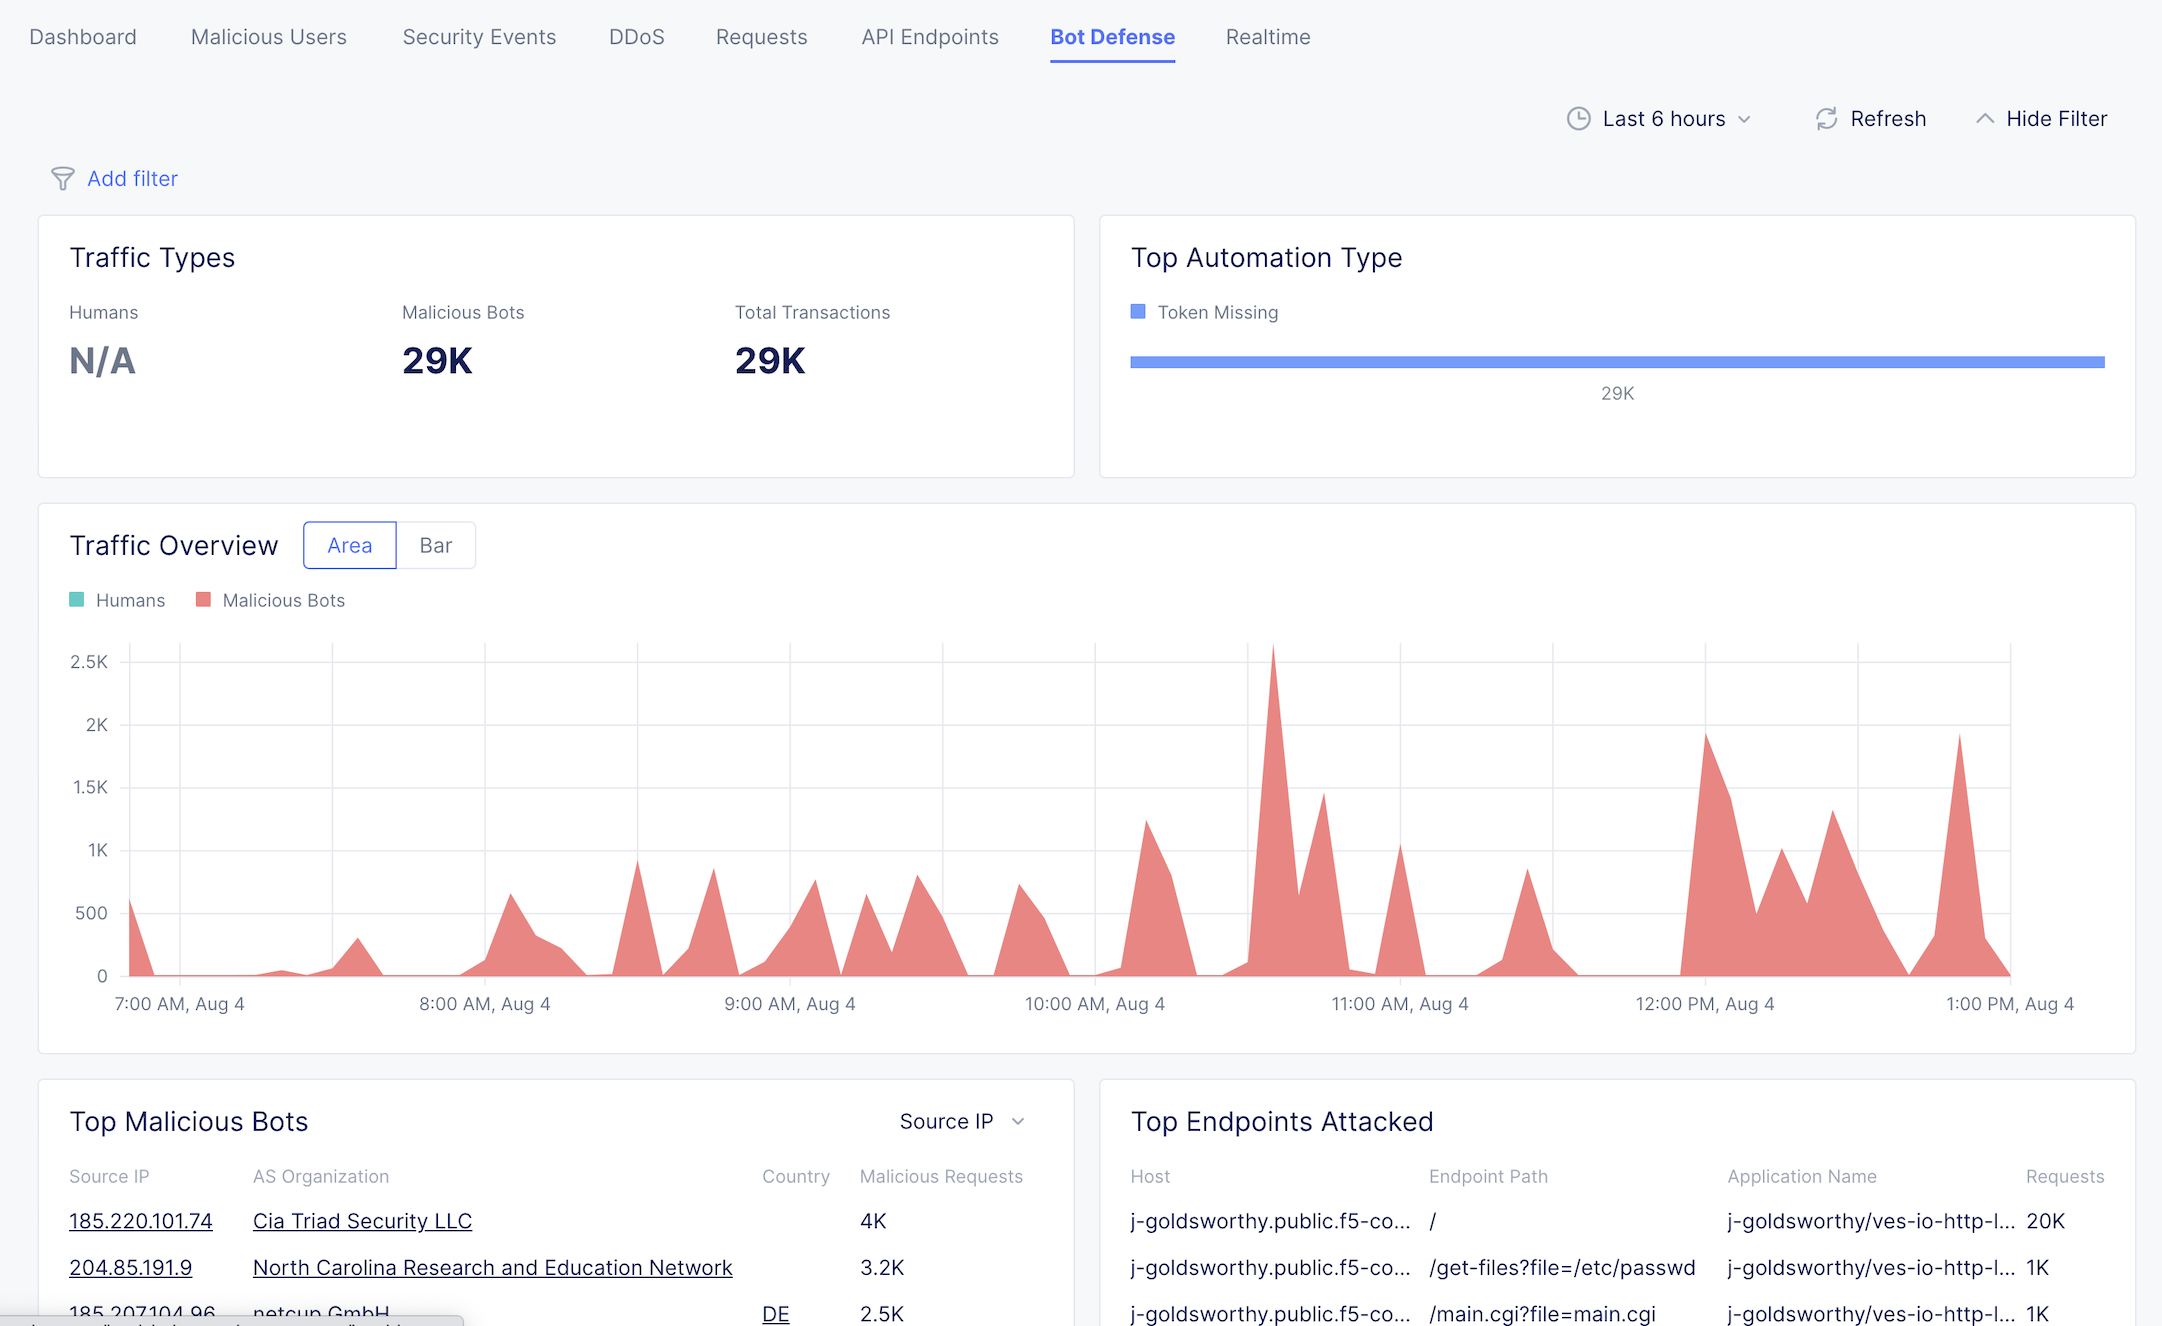
Bot Defense
Malicious Users

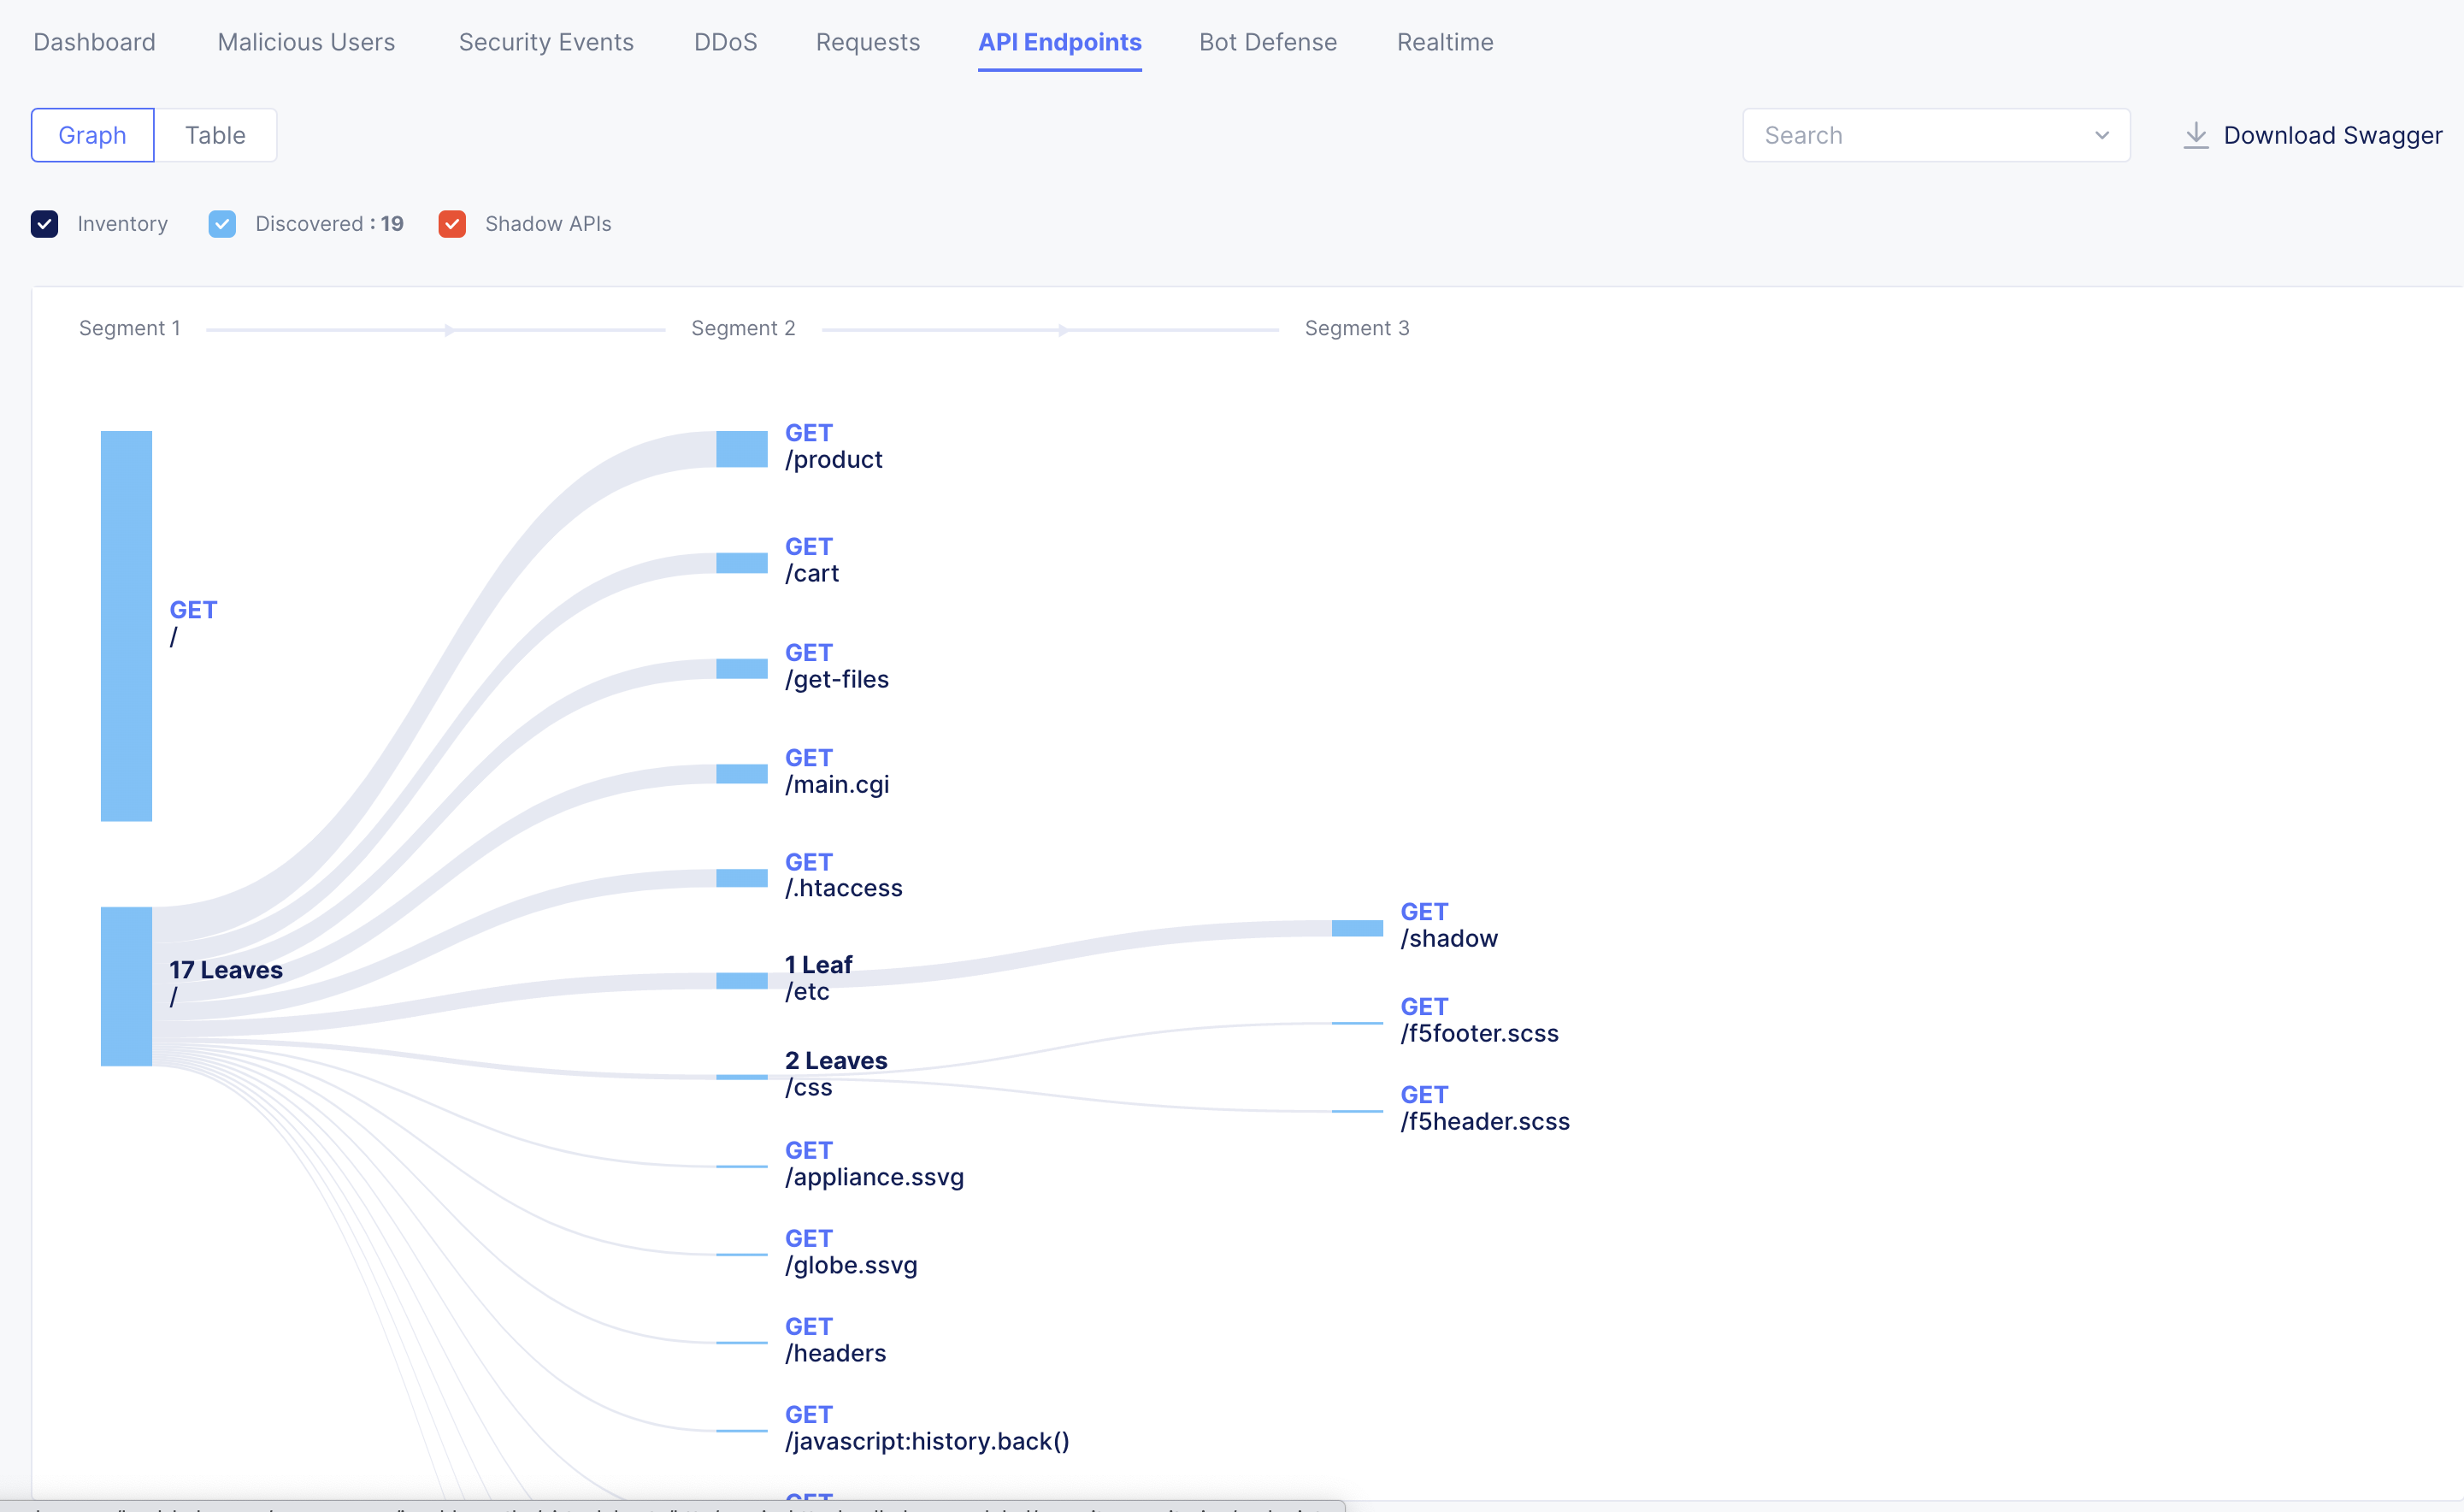
API Security/Discovery
Attention
Congratulations, you have completed the WAAP lab!

You have reached the end of this lab. For instructor-led courses, do not continue until instructed to do so.