Update HTTP Load Balancer on F5 Distributed Cloud Regional Edge
We will now update the HTTP load balancer that we previously created to connect to the “Private Endpoint” via the F5 Distributed Cloud Mesh node that is deployed in the AWS lab environment.
Exercise 1: HTTP Load Balancer Configuration
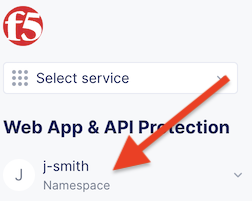
Start in F5 Distributed Cloud Console and switch to the Web App & API context. [You should already be here from previous lab]
Ensure you have selected your assigned namespace
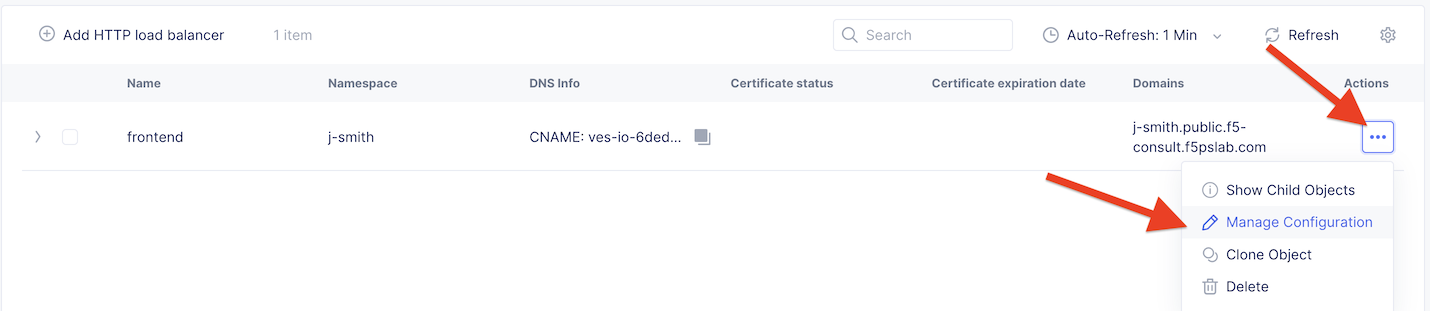
Navigate the menu to go to “Manage”->”HTTP Load Balancers” and look for the Load Balancer named global that you previously created.
Click on the three dots “…” to the right of the name of your global Load Balancer and select the “Manage Configuration” option.
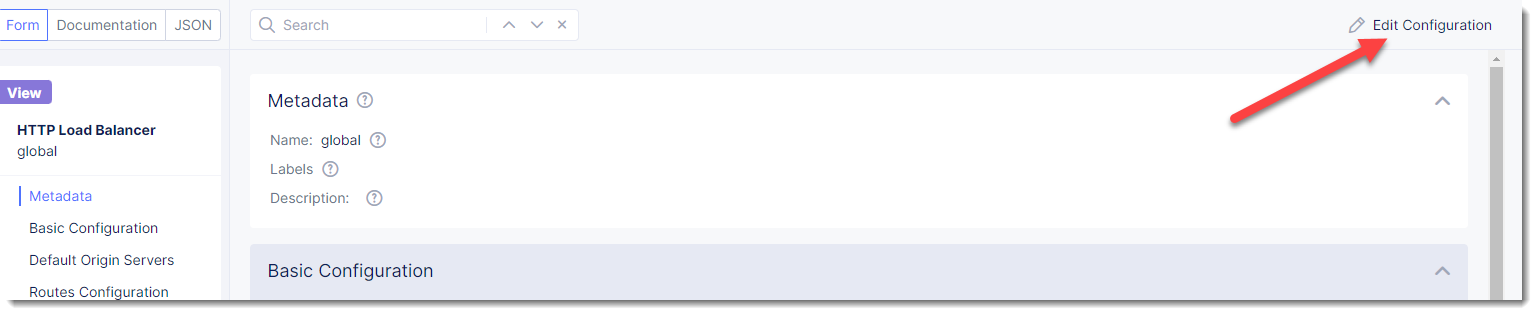
Click on “Edit Configuration” in the upper right of the screen (after your global Load Balancer is loaded).
Under “Default Origin Servers” find you previous “public” Origin pool and click on the three dots “…” to the right under “Actions”
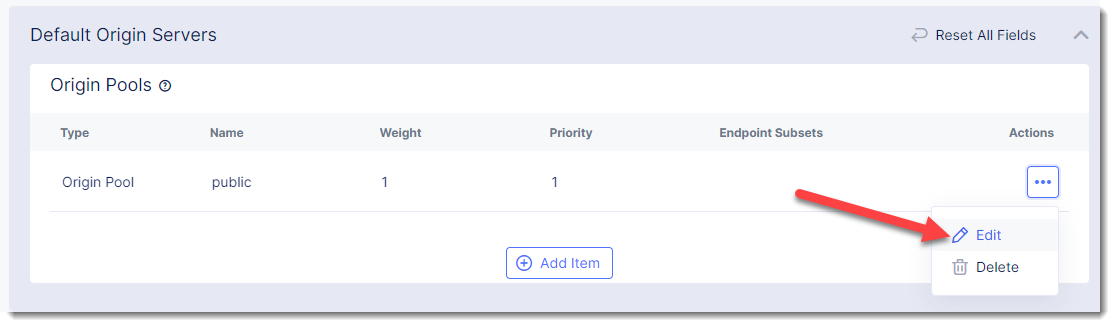
Change the selection of “Origin Pool” to “private” from “public” and click “Apply”
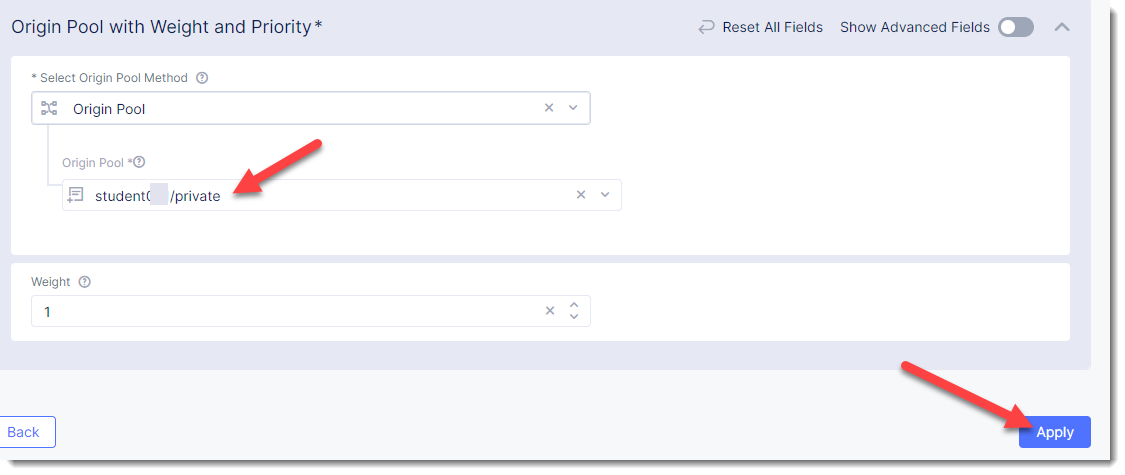
Click “Save and Exit to update the HTTP Load Balancer.
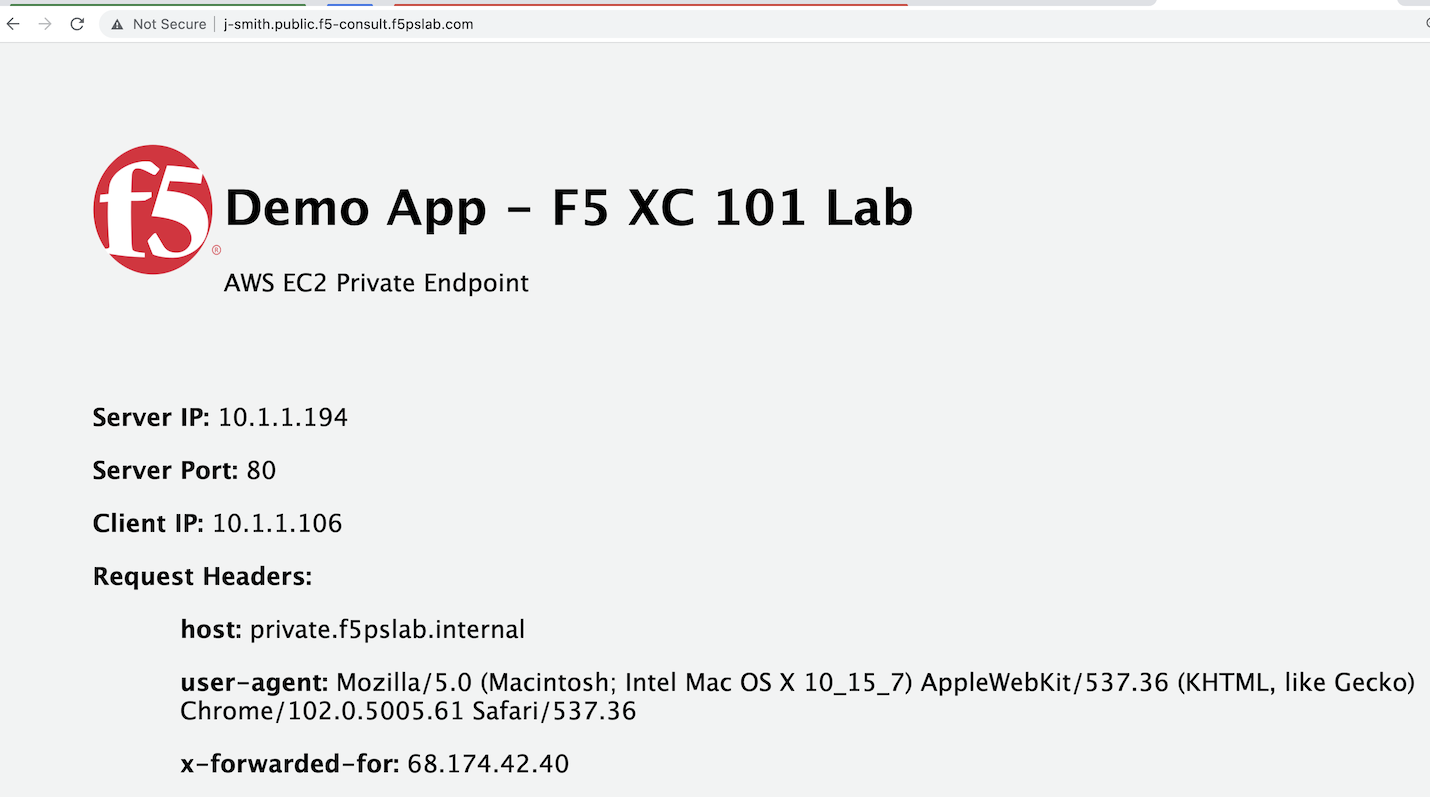
You should now be able to go to the DNS name that you entered previously in a web browser. The FQDN we used in our example is http://x-surname.public.f5-consult.f5pslab.com
Exercise 2: Verify Configuration
The private demo app should look like the following:
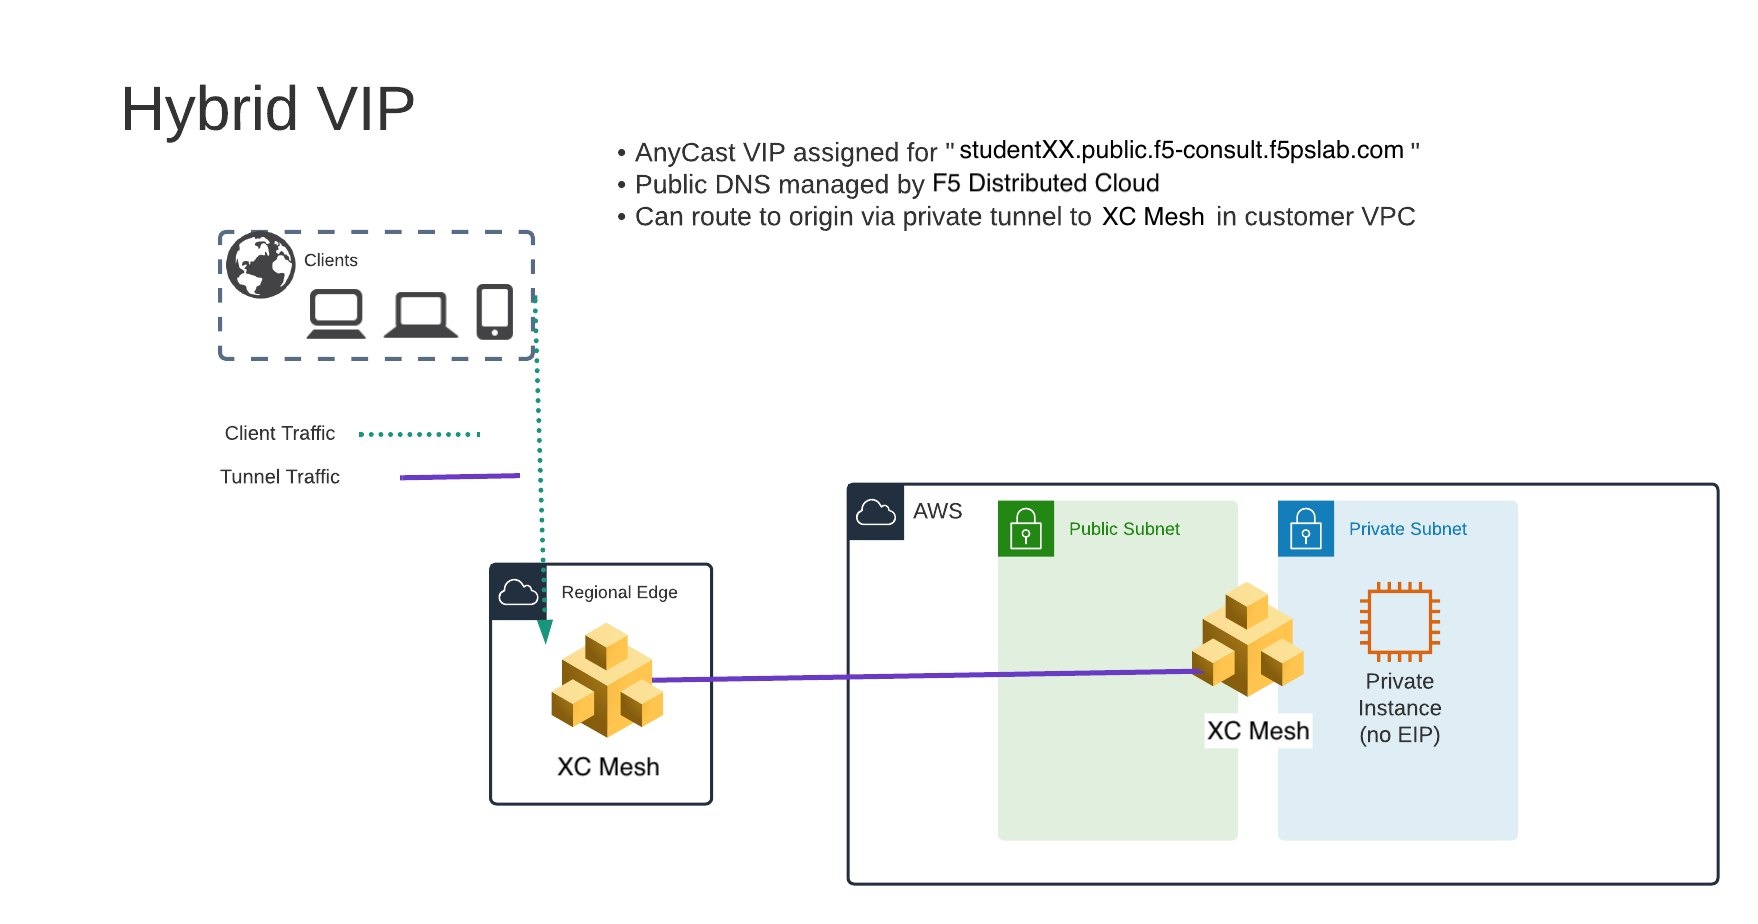
In this topology we are sending traffic to an AnyCast IP that is hosted in F5 Distributed Cloud’s Regional Edge.
We then connect to the AWS resource via the F5 Distributed Cloud Mesh node that is deployed in the same VPC as the “Private Endpoint”. The F5 Distributed Cloud Mesh is only being used for network connectivity to the Private Endpoint; enforcement of the WAF policy is still being applied in the Regional Edge.
In the next exercise we will look at a third topology of deploying a WAF policy that will be enforced within the AWS VPC on the F5 Distributed Cloud Mesh node (in the Customer Edge).