Create Origin Pools
Previously we created an origin pool that was accessible via the Public Internet. The next lab exercise will create an origin pool that will access resources via the F5 Distributed Cloud Mesh node that is deployed in our lab AWS environment.
Exercise 1: Create Private Origin Pool
We will first create an Origin Pool that refers to the “Private Endpoint” site in our lab environment.
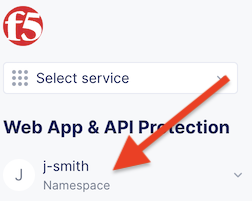
Start in F5 Distributed Cloud Console and switch back to the Web App & API Protection” context.
Ensure you have selected your assigned namespace
Navigate the menu to go to “Manage”->”Load Balancers”->”Origin Pools”. Click on Add Origin Pool.
Enter the following variables:
Variable
Value
Name
private
Click on “Add Item” under the section “Origin Servers”
Enter the following variables:
Variable
Value
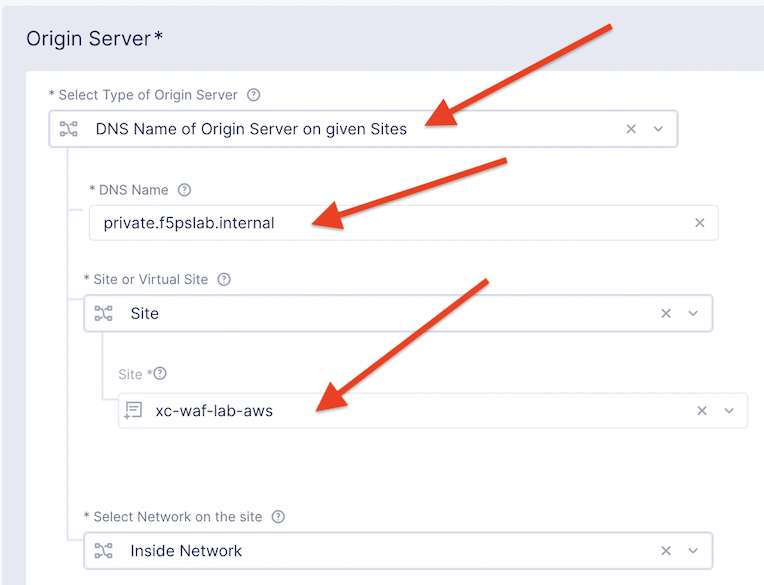
Select Type of Origin Server
DNS Name of Origin Server on given Sites
DNS Name
private.f5pslab.internal
Site
xc-waf-lab-aws
Click on “Add Item” to return to the previous screen.
Below the “Origin Servers” section fill in the Port information
Variable
Value
Port
80
Under the List of Health Check(s) section, click the Add item button.
Click the Health Check object dropdown list. Select the http monitor that you previously created.
Click the Save and Exit button to create the Origin Pool.