TCP Load Balancer
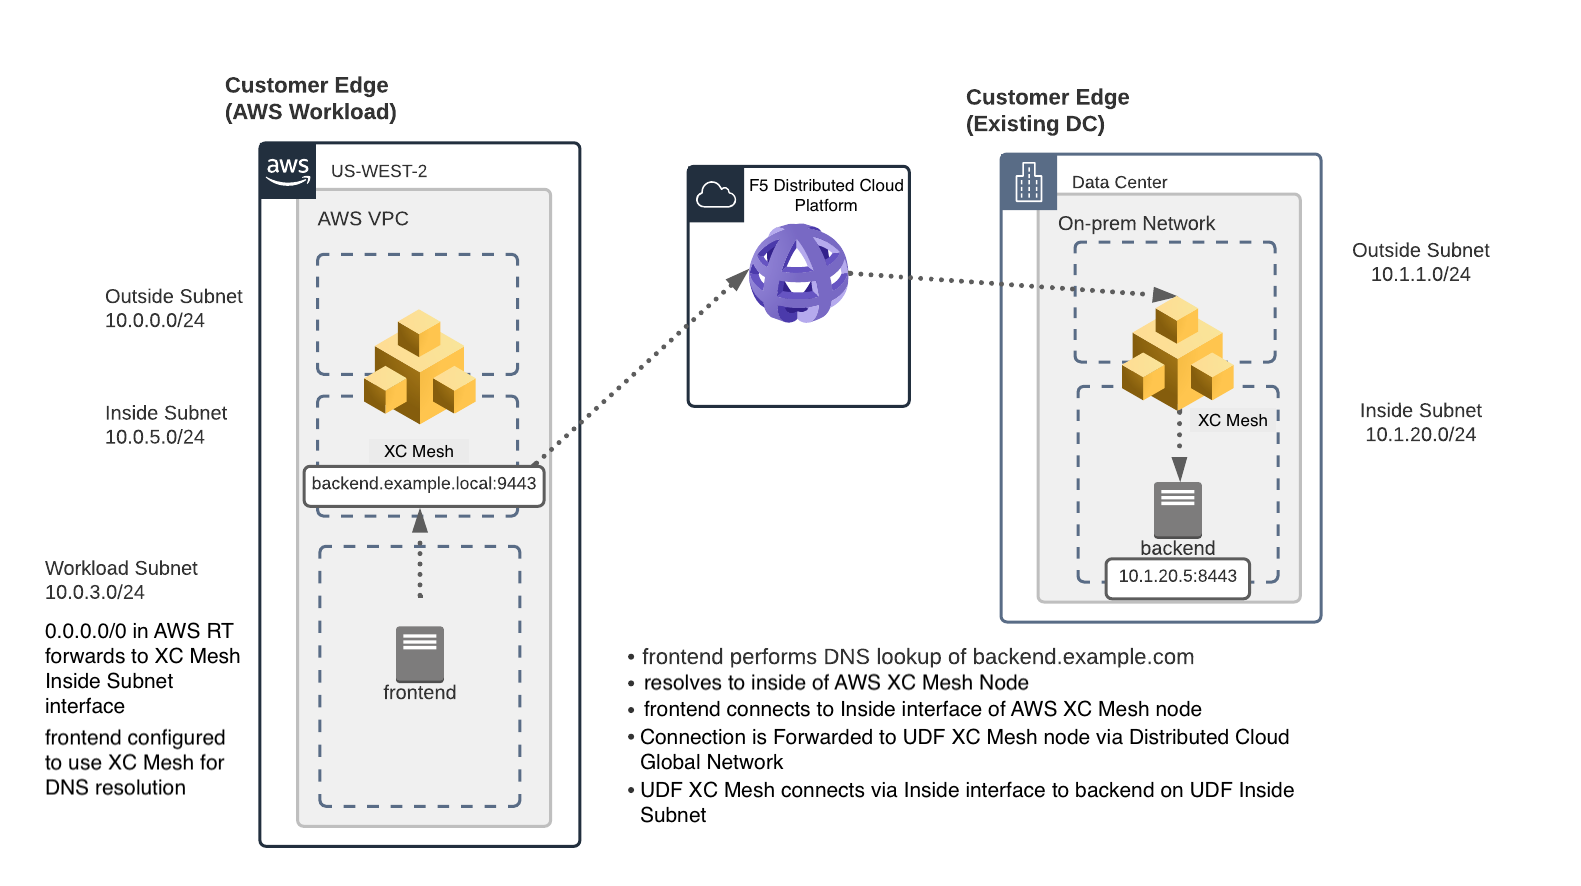
On of the requirements from the “Narrative” is to enable the frontend application in AWS to communicate with the backend application that is on-prem.
The frontend application makes use of DNS to determine the IP address of the backend application. In the on-prem environment the name “backend.example.local” resolves to the backend IP of 10.1.20.5.
In the AWS environment we want to resolve the name “backend.example.local” to resolve to the IP address of the F5 Distributed Cloud Customer Edge (CE). The CE will host a Virtual IP (VIP) that will host a TCP Load Balancer that will proxy traffic back to the original backend application.
Load Balancers
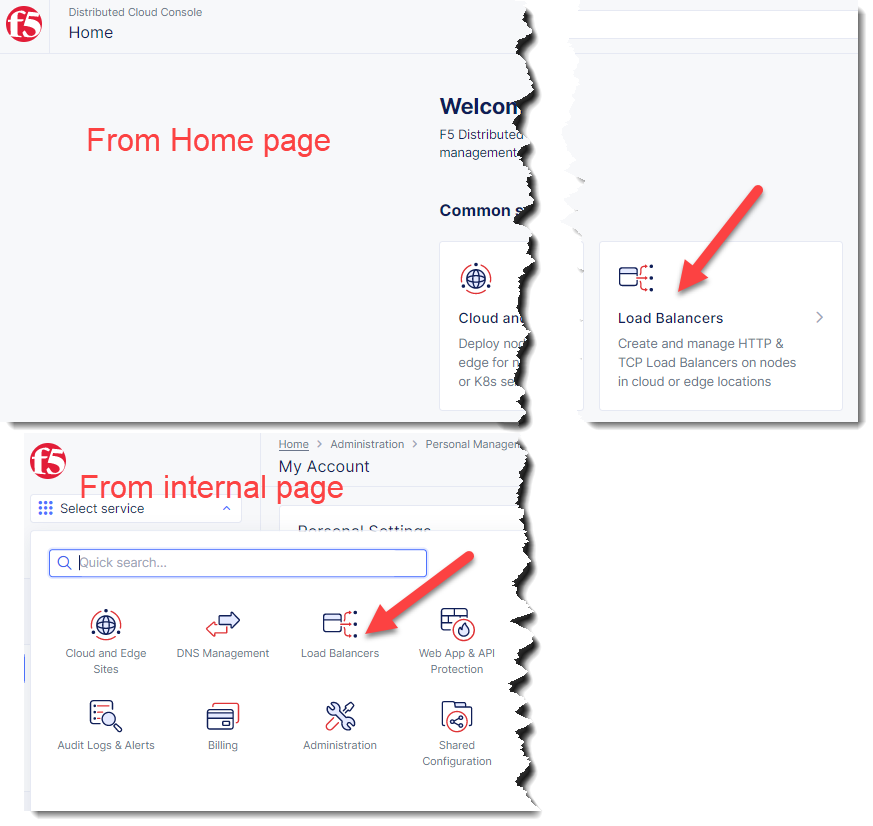
Next we will change to the “Load Balancers” menu.
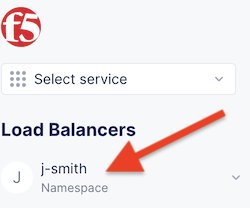
Ensure that you are still in your assigned namespace.
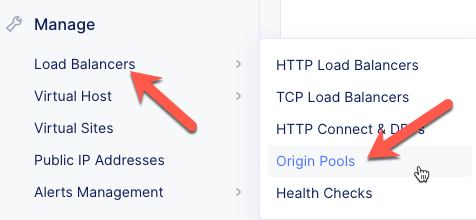
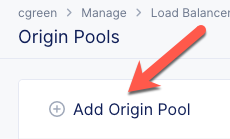
Exercise 1: Origin Pool
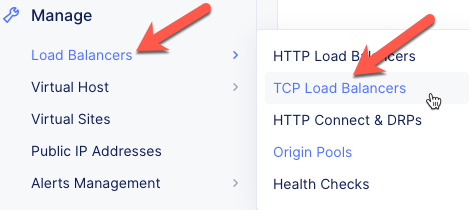
Navigate the menu to go to Manage -> Load Balancer, then click Origin Pools.
Click the Add Origin Pool button.
Enter the following variables:
Variable |
Value |
|---|---|
Origin Pool Name |
backend-tcp |
Port |
8443 |
Click on “Add Item” under “Origin Servers*”
Enter the following variables
Variable |
Value |
|---|---|
Select Type of Origin Server |
IP address of Origin Server on given Sites |
IP address |
10.1.20.5 |
Site |
Your UDF site |
Select Network on the site |
Inside Network |
Under the List of Health Check(s) section, click on “Add Item”
Click the Select healthcheck dropdown.
Click the Create new Healthcheck button.
Enter the following variables:
Variable |
Value |
|---|---|
Name |
backend-tcp-health-check |
Health Check |
TCP HealthCheck |
Click on the “Configure” button to open the dialog to adjust timeout settings then click “Apply”
Click the Continue button to close the Health Check Parameters dialogue.
Click the Save and Exit button to close the Origin Pool dialogue.
Exercise 2: Create Backend TCP Load Balancer
Navigate the menu to go to Manage -> Load Balancer, then click TCP Load Balancers.
Click the Add TCP Load Balancer button.
Enter the following variables:
Variable
Value
Name
backend
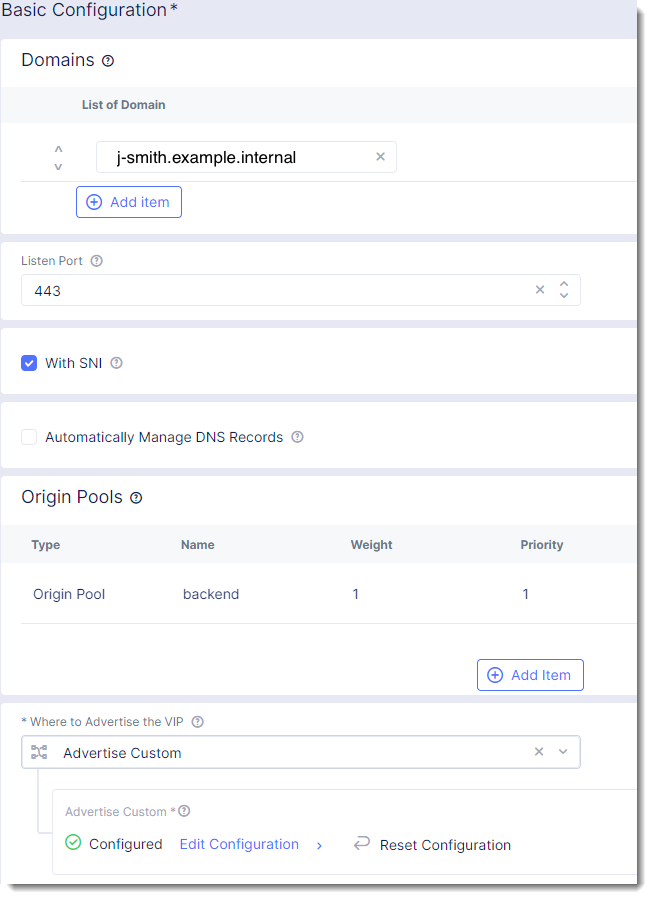
Under “Domains” click on “Add item”
Enter the following variables:
Variable
Value
Domain
backend.example.local
After “Domains” enter the following variables
Variable
Value
Listen Port
9443
Where to Advertise the VIP
Advertise Custom
With SNI
Checked
Configure Origin Pools
Under the Origin Pools section, click the Configure link.
Click the Add item button.
Select the backend-tcp pool.
Click the Apply button to close the Origin Pools dialogue.
Configure Advertisement
Under Advertise Custom click the Configure link.
You will need to add a site:
Variable
Value
Select Where to Advertise
Site
Site Network
Inside Network
Site Reference
[unique name]-awsnet
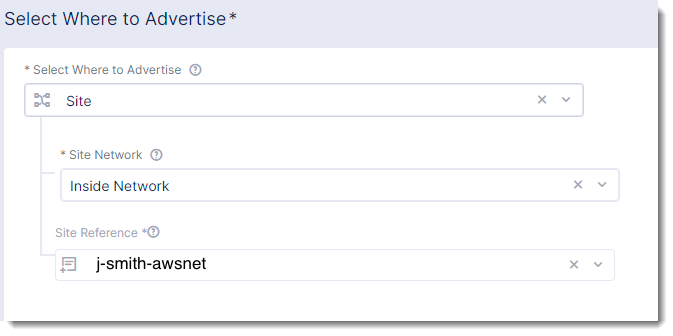
Click the Apply button to exit the Advertise Custom dialogue.
Click the Save and Exit button to exit the TCP Load Balancer dialogue.