HTTP Load Balancer
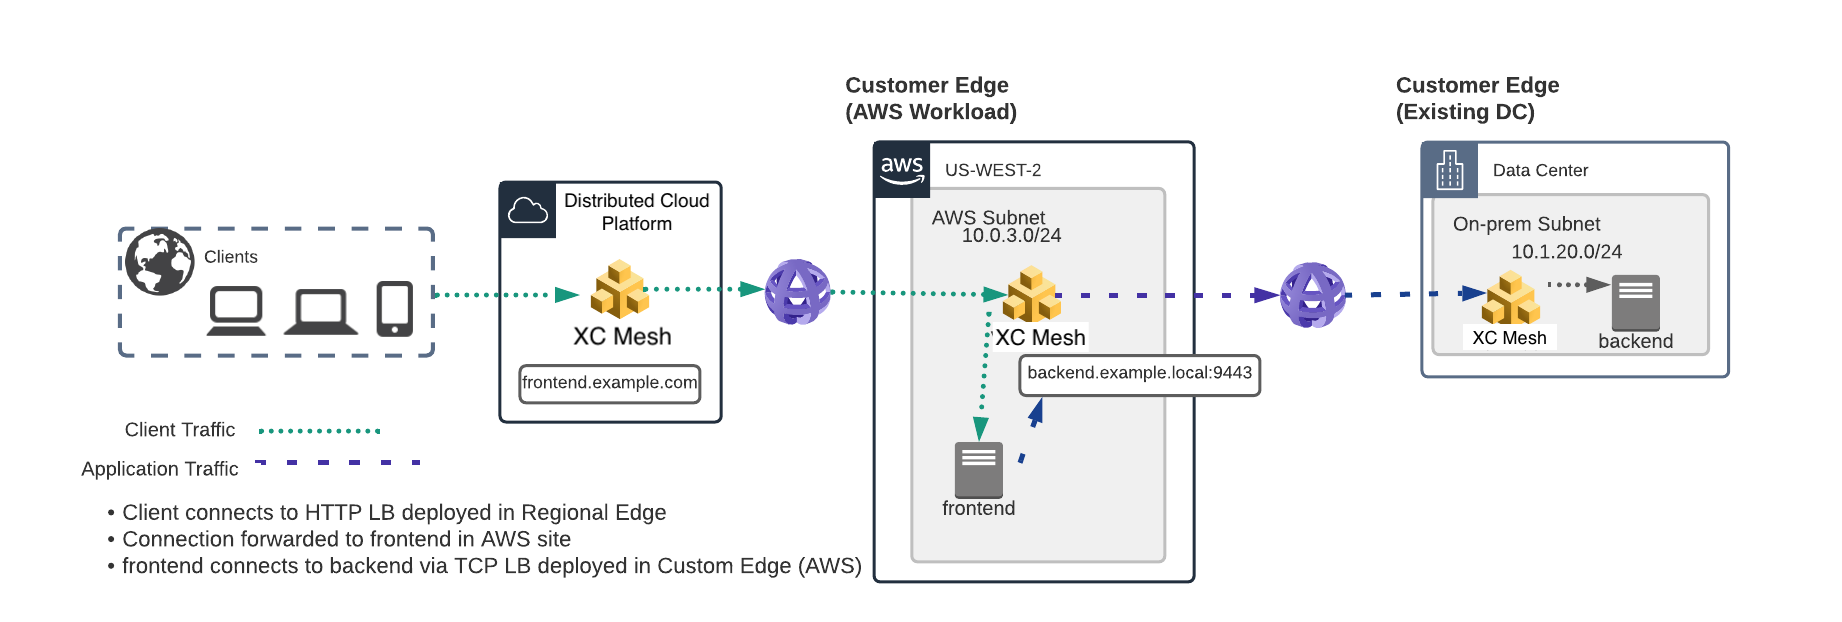
In the previous steps you created the necessary connection for the frontend application to securely communicate with the backend application. The next steps will expose the frontend service to the public through a F5 Distributed Cloud Regional Edge.
You will first create an origin pool for your frontend application in AWS.
Afterwards you will create a HTTP Load Balancer that will reference your origin pool and expose the service on F5 Distributed Cloud’s Regional Edge.
Regional Edge
A Regional Edge (RE) is part of F5 Distributed Cloud Global Network that provides connectivity to services. Previously when we deployed the UDF / AWS sites these were considered “Customer Edge (CE)” and they make use of RE to communicate (each CE is associated with two RE).
Exercise 1: Origin Pool
We will first create an Origin Pool that refers to the frontend application service running in our AWS site.
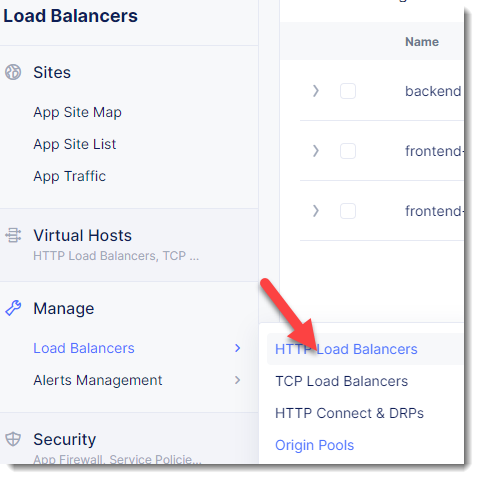
Start in F5 Distributed Cloud Console and switch to the “Load Balancers” menu.
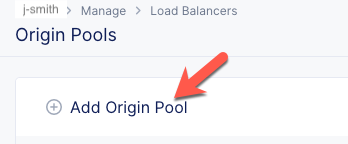
Navigate the menu to go to “Manage”->”Load Balancers”->”Origin Pools”. Click on Add Origin Pool.
Enter the following variables:
Use the private IP address for the workload instance that you created in the previous exercise.
Variable
Value
Name
frontend-http
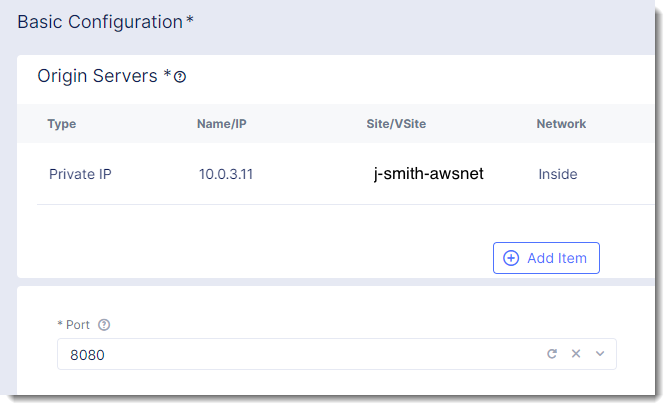
Click on “Add Item” under Origin Servers
Enter the following variables:
Variable
Value
Select Type of Origin Server
IP address of Origin Server on given Sites
IP
10.0.3.XX
Site
[unique name]-awsnet
Select Network on the site
Inside Network
Click on “Add Item”
Continue adding the following variables:
Variable
Value
Port
8080
Under the List of Health Check(s) section, click the Add Item button.
Click the Health Check object dropdown list. Click the Create New Health Check button.
Enter the following variables:
Variable
Value
name
frontend-http-health-check
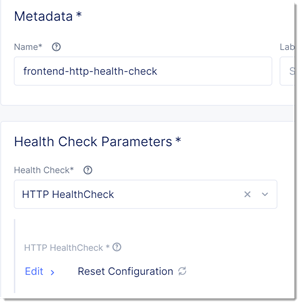
Click the Configure button under “HTTP Health Check”
Click Apply to exit the “Health Check HTTP Parameters” dialogue.
Click Continue to return to the “Origin Pool” configuration.
Click Save and Exit button to create the Origin Pool.
Exercise 2: HTTP Load Balancer Configuration
Navigate the menu to go to “Manage”->”HTTP Load Balancers” and click on “Add HTTP Load Balancers”.

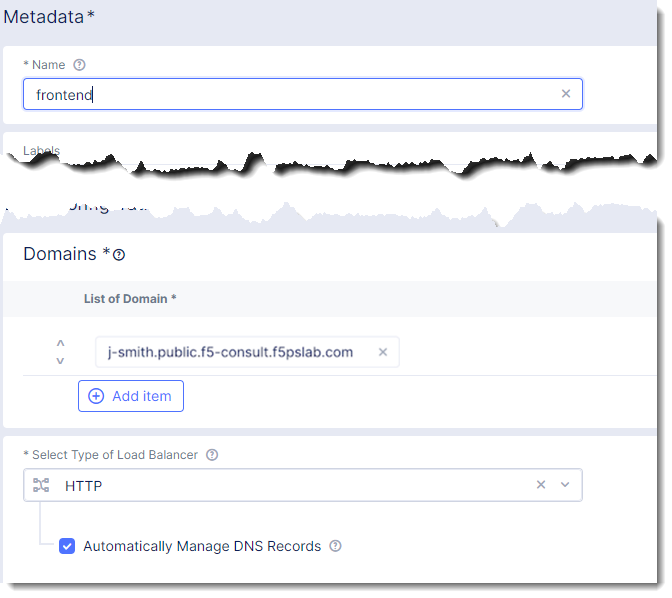
Enter the following variables:
Variable
Value
Name
frontend-http
Domains
frontend.[x-surname].public.[supplied domain name for your tenant]
Select type of Load Balancer
HTTP
Automatically Manage DNS Records
Yes/Check
Note
If your tenant does not use a delegated domain you can disable the option to automatically manage DNS records. You can supply an arbitrary domain (example.com) and later you can use the supplied ves.io name to verify.
Exercise 3: Configure Default Origin Pool
We’ll next configure the Default Origin Pool.
Click on the Add Item link under the Origins -> Origin Pools section.
The Select Origin Pool Method will be set to Origin Pool. Under the Origin Pool dropdown menu select the “frontend-http” you created earlier.
Click the Add Item button to exit the Origin Pools dialogue.
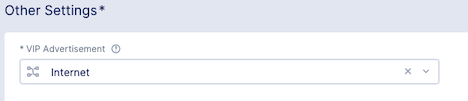
Notice that in the Other Settings section VIP Advertisement field is set to Internet by default.
Click Save and Exit to create the HTTP Load Balancer.
Once the HTTP Load Balancer has been deployed, you should now be able to go to the DNS name that you entered previously in a web browser. The FQDN we used in our example is http://frontend.j-smith.public.f5-consult.f5pslab.com. Your FQDN should follow the format of frontend.[unique name].[supplied domain name for your tenant].
The demo app should look like the following:
================================================
___ ___   ___                    _
| __| __| |   \ ___ _ __  ___    /_\  _ __ _ __
| _||__ \ | |) / -_) '  \/ _ \  / _ \| '_ \ '_ \
|_| |___/ |___/\___|_|_|_\___/ /_/ \_\ .__/ .__/
                                    |_|  |_|
================================================

    Node Name: AWS Environment
    Short Name: ip-10-0-3-14

    Server IP: 10.0.3.14
    Server Port: 8080

    Client IP: 10.0.3.29
    Client Port: 51201

Client Protocol: HTTP
Request Method: GET
    Request URI: /

    host_header: frontend.[unique name].[tenant domain]
    user-agent: Mozilla/5.0 (Macintosh; Intel Mac OS X 11_2_0) AppleWebKit/537.36 (KHTML, like Gecko) Chrome/88.0.4324.192 Safari/537.36
x-forwarded-for: 192.0.2.10
If you append “/backend/” to the URL you should see the following output that shows how the “frontend” application is able to connect to the “backend” via the TCP Load Balancer.
================================================
___ ___   ___                    _
| __| __| |   \ ___ _ __  ___    /_\  _ __ _ __
| _||__ \ | |) / -_) '  \/ _ \  / _ \| '_ \ '_ \
|_| |___/ |___/\___|_|_|_\___/ /_/ \_\ .__/ .__/
                                    |_|  |_|
================================================

    Node Name: UDF Environment (Backend App)
    Short Name: ubuntu

    Server IP: 10.1.1.4
    Server Port: 8443

    Client IP: 10.1.1.6
    Client Port: 52595

Client Protocol: HTTPS
Request Method: GET
    Request URI: /txt

    host_header: backend.example.local
    user-agent: Frontend App/1.0
x-forwarded-for: 10.0.3.29

You have reached the end of this lab. For instructor-led courses, do not continue until instructed to do so.