Internal HTTP Load Balancer
Previously we deployed a public HTTP Load Balancer to direct traffic to the single-page application. Next we will deploy an internal/private HTTP Load Balancer that will be used to serve the inventory application.
Inventory Application
Now you are ready to set up an HTTP Load Balancer to serve the inventory application.
Exercise 1: Create an HTTP Load Balancer
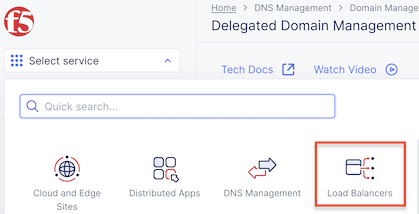
Start in F5 Distributed Cloud Console and switch to the Load Balancers context.
Ensure you have selected your assigned namespace
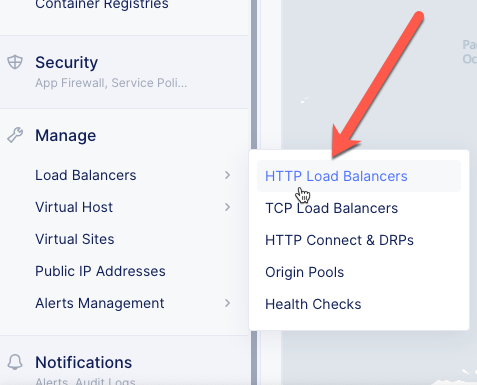
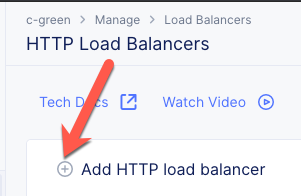
Navigate the menu to go to “Manage”->”HTTP Load Balancers” and click on “Add HTTP Load Balancers”.
Configure HTTP Load Balancer
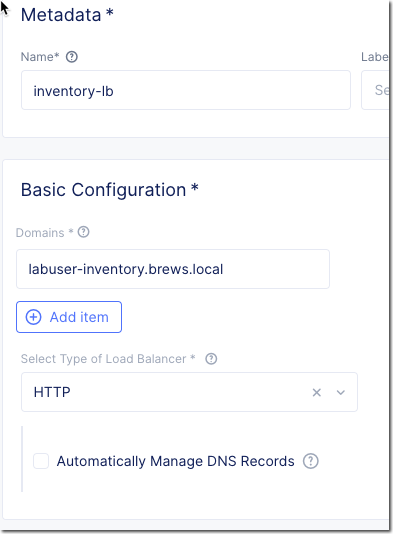
Now you will create an HTTP load balancer configuration. Enter the following variables:
Variable
Value
Name
inventory-lb
Domains
your_namespace-inventory.brews.local
Select type of Load Balancer
HTTP
Automatically Manage DNS Records
No/Un Checked
Exercise 2: Configure Origin Server (for UDF)
Now you will configure the Default Origin Server used by the load balancer.
Click on the Configure link under the Default Origin Servers section.
Click the Add Item button.
In the Origin Pool drop down, click Create new pool.
Enter the following variables:
Variable
Value
Name
brews-inventory
Select Type of Origin Server
IP address of Origin Server on given Sites
IP
10.1.1.4
Site
your_namespace-udf
Select Network on the site
Outside Network
Port
8002

- Configure Origin Pool Health monitor
In the List of Health Check(s) section click the Add item button.
Click the Health Check object dropdown list.
Click the Create new healthcheck button.
Enter the following variables:
Variable
Value
name
brews-inventory
Click the configure button under HTTP Health Check and enter the following variables:
Variable
Value
path
/api/stats
Click the Apply button to close the “HTTP Health Check” dialogue.
Click the Continue button to close the “Health Check” dialogue.
Exercise 3: Configure Second Origin Pool (for AWS)
Under “Origin Servers” click on Add item
Enter the following variables:
Variable
Value
Select Type of Origin Server
K8s Service Name of Origin Server on given Sites
Service Name
brews-inv.[your namespace]
Virtual Site
your_namespace-vsite
Select Network on the site
vK8s Network on Site
Note
Be sure to use the value of “[your namespace]” this is how F5 Distributed Cloud identifies the resource
Click Continue.
Click Apply to return to the HTTP Load Balancer dialogue. Stop here.
Exercise 4: Configure Custom VIP Configuration
Unlike when you created a public HTTP LB this needs to be configured to only listen on the internal network of the UDF and AWS sites.
Under VIP Configuration click on Show Advanced Fields.
From the “Select” menu change the value to “Advertise Custom”
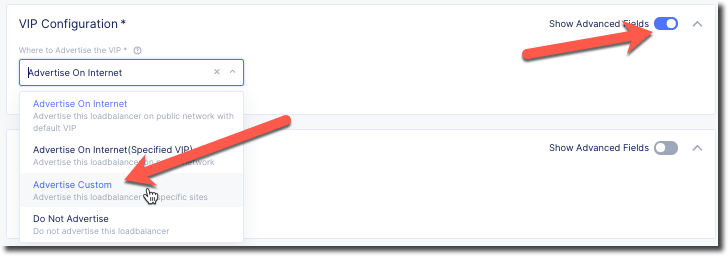
Click on Configure under “Advertise Custom”.
- Enter the following variables:
Variable
Value
Select Where to Advertise
Site (default value)
Site Network
Outside Network
Site
[unique name]-udf
IP address
[leave blank, default value]
TCP Listen Port Choice
Use Default TCP Listen Port (default value)
Click on Add Item.
- Enter the following variables:
Variable
Value
Select Where to Advertise
Site (default value)
Site Network
Outside Network
Site
[unique name]-aws
IP address
[leave blank, default value]
TCP Listen Port Choice
Use Default TCP Listen Port (default value)
Click on Apply to close the “Advertise Custom” dialogue.
Click on Save and Exit to create the HTTP Load Balancer.
Exercise 5: Verify Internal LB is working
You will need to now reconfigure the “brews” app to use the inventory application.
Navigate to the “stats” page of the brews app. Click on the gear icon next to “inventory”.
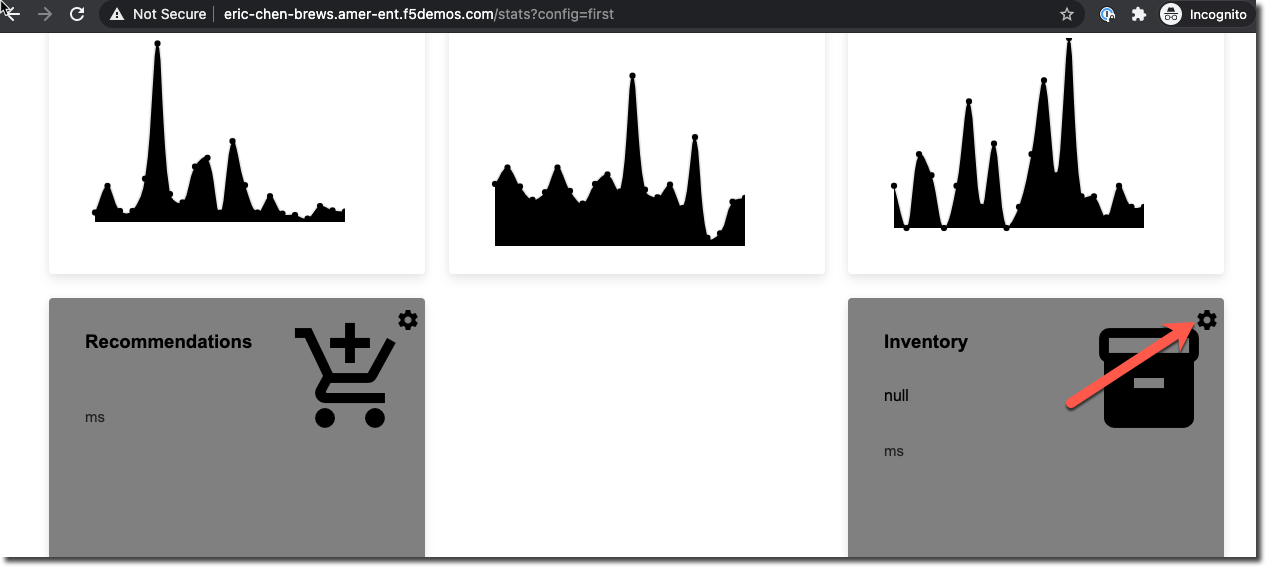
Enter the value for the internal URL “http://your_namespace-inventory.brews.local”. Click on the checkmark icon.

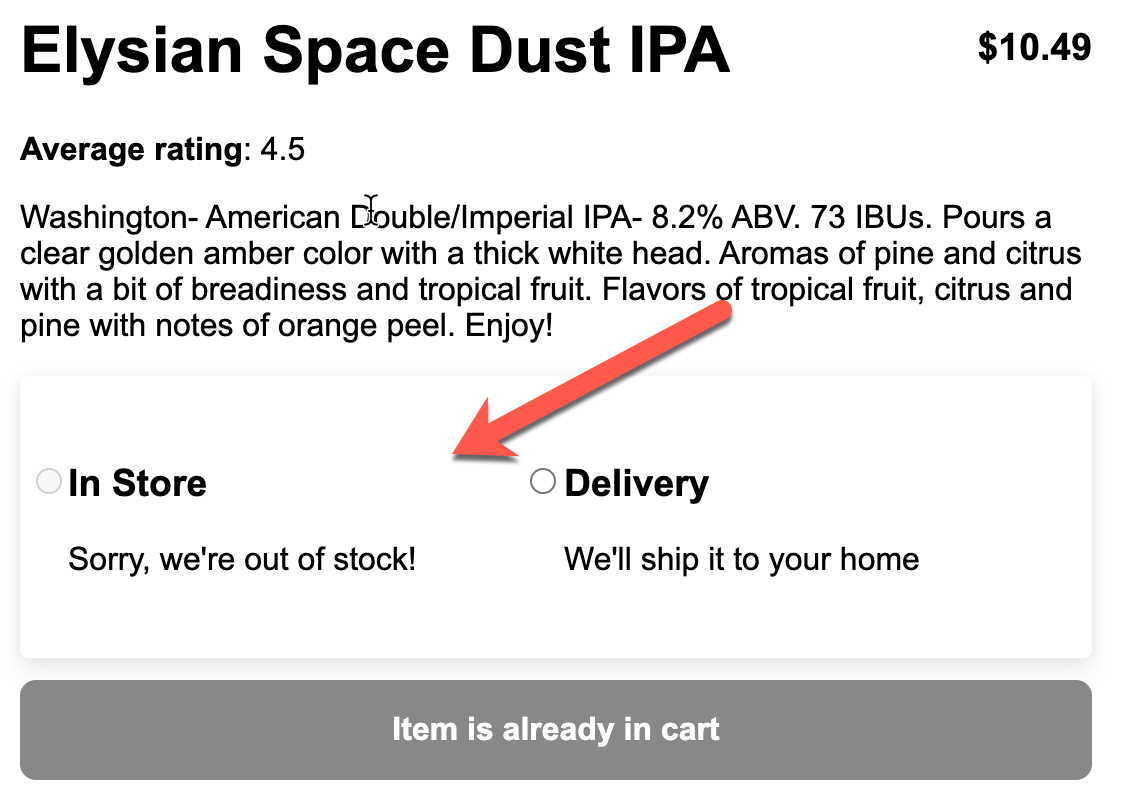
The “API” application will now use the internal LB to communicate with the inventory service. When you view a product page you should now see an option for In Store or Delivery:
The configuration of the inventory LB is set to prefer the origin of the site. This should result in the following pattern of traffic.
AWS API Service -> AWS Inventory Service
UDF API Service -> UDF Inventory Service
If you disable the Inventory Service in AWS, all traffic will go to the remaining UDF site.
Packet flow
Below is the packet flow for the architecture you just deployed in F5 Distributed Cloud.

You have reached the end of this lab. For instructor-led courses, do not continue until instructed to do so.