Fleet
A fleet represents a network configuration for a site. It can make use of dynamic network elements (i.e. DHCP) to provide a template for each site without requiring to hardcode specific static network information.
Exercise 1: Create a Fleet
Start in Distributed Cloud Console and switch to the Cloud and Edge Sites context. It can be access either from the Home page or an internal page.
Navigate to “Manage”->”Site Management” click on “Fleets”.
You will need to provide the following information:
Fleet Name: [unique namespace]-udf
Fleet Label: [unique namespace]-udf
Click “Select Network Connector” and choose the two created in the previous exercise:
Network Connectors: [unique namespace]-global-connector
Network Connectors: [unique namespace]-snat-connector
Then click on “Save and Exit”
Exercise 2: Add Fleet to Site
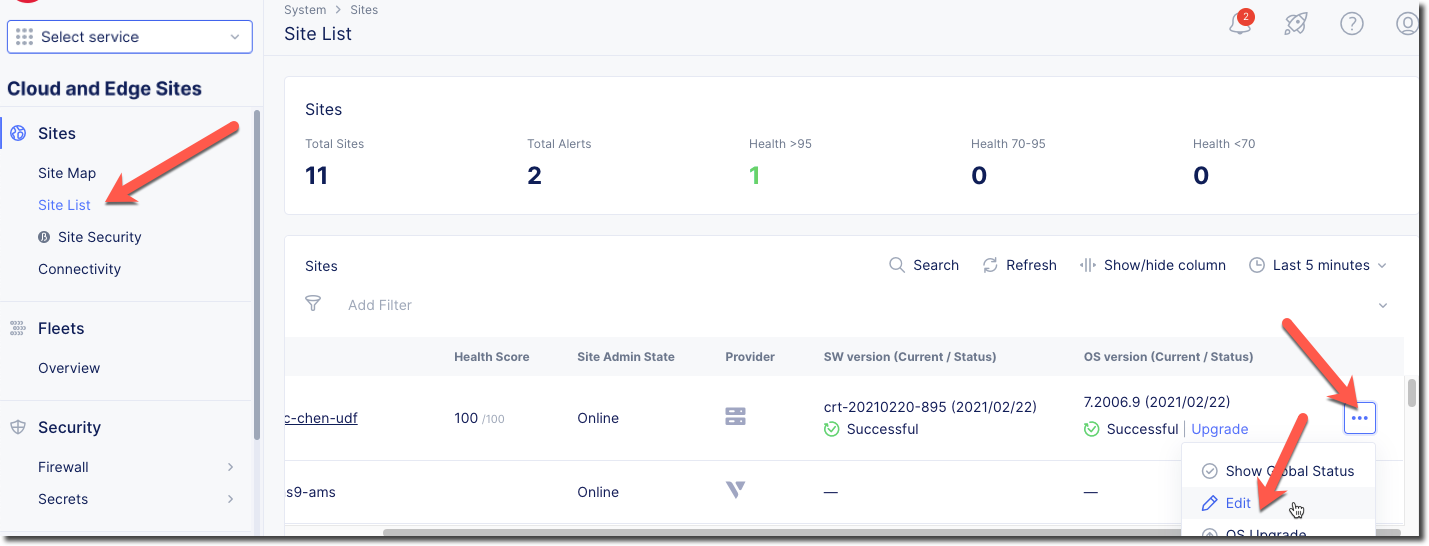
Navigate to “Manage” -> “Site List”
Click on your On-Premises UDF site that you previously created and click on the “…” on the far right (you may need to scroll right) and then “Manage Configuration”. (Note: Screenshot might show Edit instead)
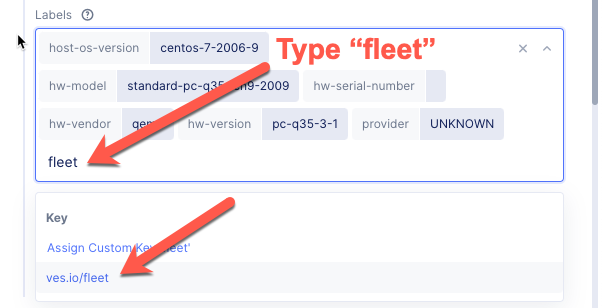
In the “Label” frame, start to type “fleet” and click on “ves.io/fleet” then select the site that you previously created.
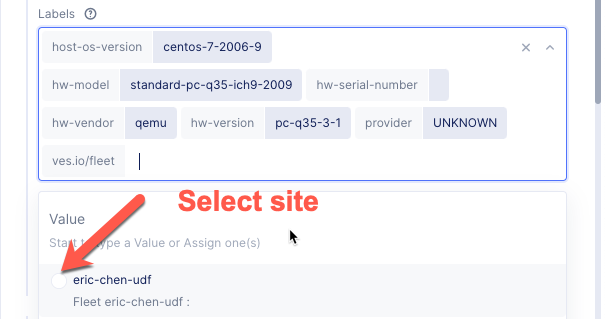
Click on “Save Changes”.

You have reached the end of this lab. For instructor-led courses, do not continue until instructed to do so.