Deploy the “Recommendations” Service.
Exercise 1: Create a Virtual Site with our target REs
Since we only want to deploy our “recommendations” service to a select number of Region Edges, we must define a “virtual site” that contains the REs we want to target.
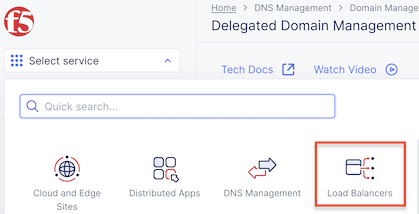
Start in VoltConsole and switch to your Load Balancers context.
Verify you are in your namespace
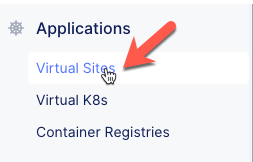
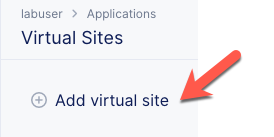
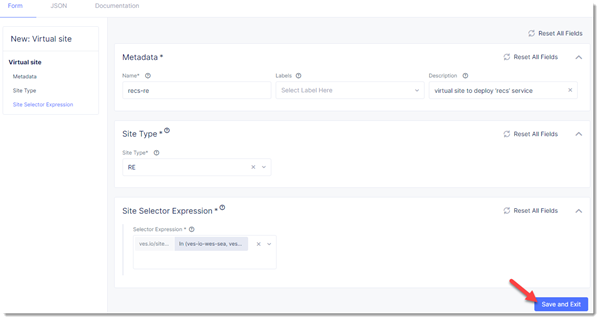
Using the menu on the left, navigate to “Manage”->”Virtual Sites”. Click on Save and Exit.
Fill out the form.
Variable
Value
Name
recs-re
Description
virtual site to deploy ‘recs’ service
Site Type
RE
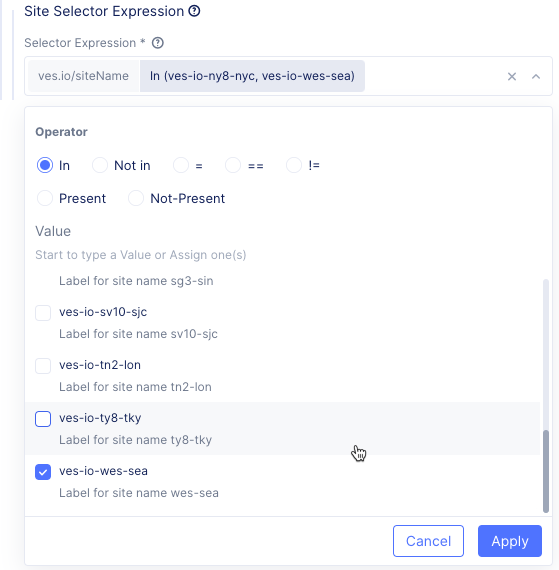
Site Selector Expression
ves.io/siteName in {ves-io-ny8-nyc, ves-io-wes-sea}
Verify your “recs-re” virtual site was created.


Exercise 2: Deploy the “Recommendations” Workload
We’ll use the “workloads” concept to configure all the pieces we need for the “recommendations” service – the k8s deployment, the k8s service exposing the deployment in the cluster, and an HTTP Load Balancer that exposes the k8s service to the internet.
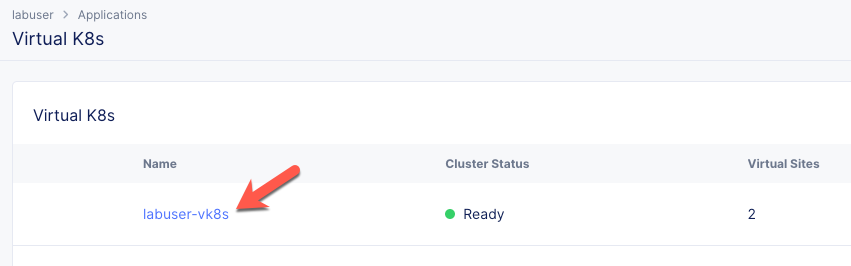
Navigate to your vK8s cluster from the Virtual K8s menu item under “Applications”. Click the cluster’s name.
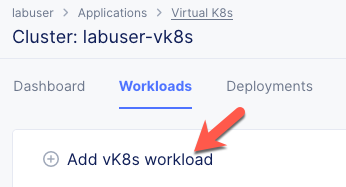
Click the Workloads tab followed by the Add vK8s workload button.
Fill out the form:
Variable
Value
Name
brews-recs
Select Type of Workload
Service
Under the “Service” section, click the Configure link.
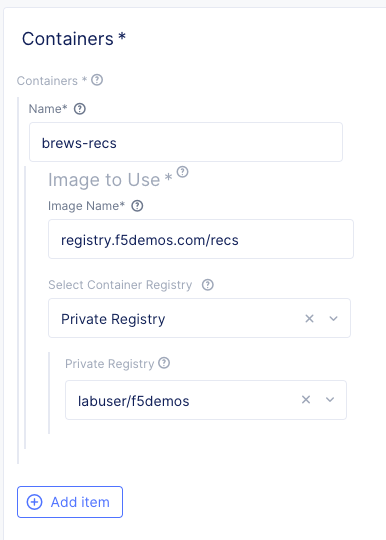
Enter the following variables in the Containers section.
Variable
Value
Name
brews-recs
Image Name
f5demos.azurecr.io/recs
Select Container Registry
Private Registry
Private Registry
Select the private registry you created previously
Enter the following variables in the Deploy Options section.
Variable
Value
Where to Deploy the workload
Customer Virtual Sites
Under Customer Virtual Sites, click the Configure link.
Select the Virtual Site of REs you created in the previous section.
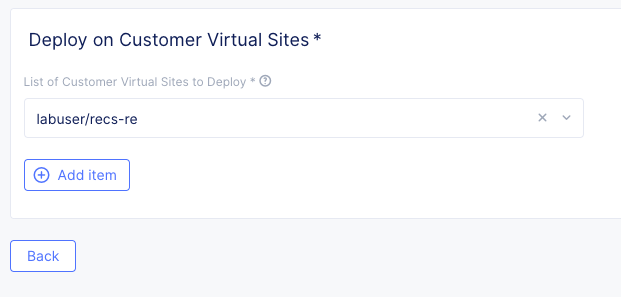
Click the Apply button to close the “Deploy” dialogue.
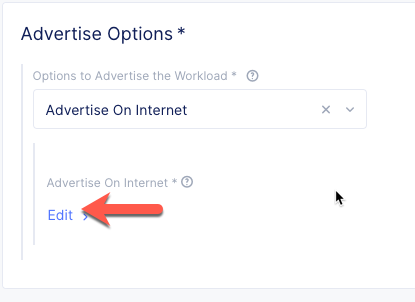
Under Advertise Option, choose Advertise On Internet. Click the Configure link.
Enter the port (8001) for the “Recommendations” service.
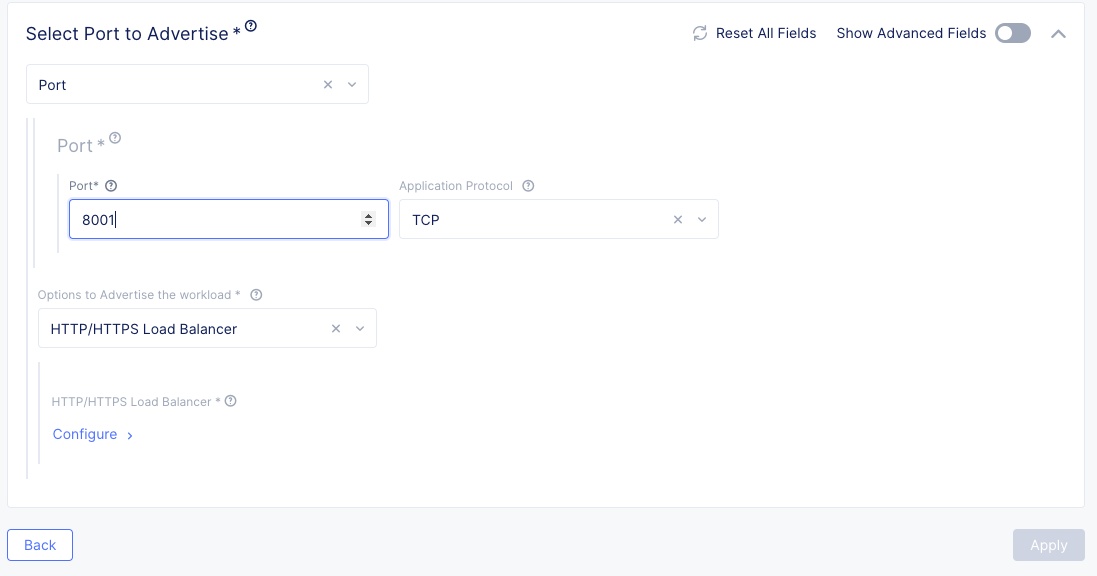
Verify that “HTTP/HTTPS Load Balancer” is selected under “Options to Advertise the workload”. Click Configure.
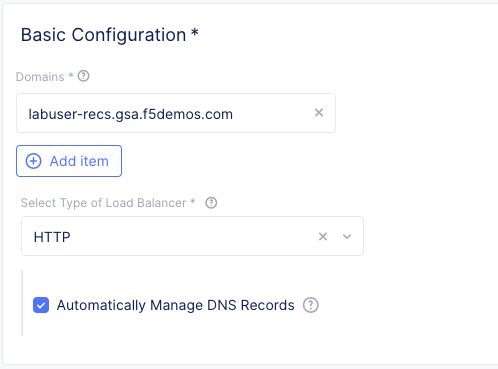
Enter the following variables:
Variable
Value
Domains
[unique name]-recs.[supplied domain name for your tenant]
Select type of Load Balancer
HTTP
Automatically Manage DNS Records
Yes/Check
Click the Show Advanced Fields toggle in the “Routes” section. Select ‘Disable Host Rewrite’ for the default route.

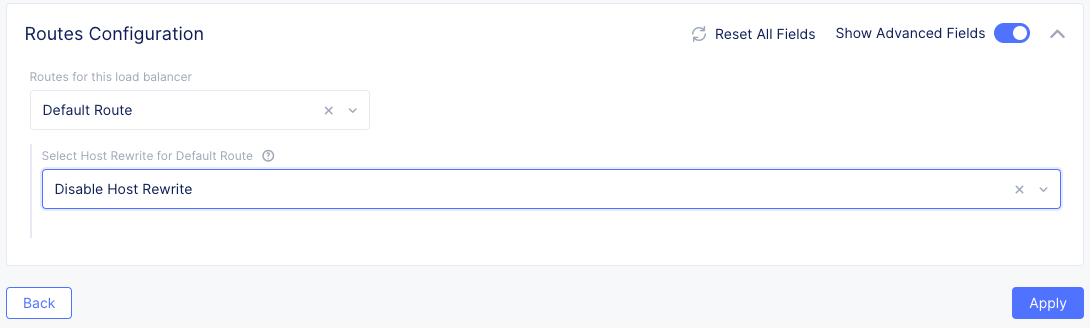
Note
The default route configuration, to rewrite the “Host” header with the name of an upstream server, is not applicable when the service is hosted on Regional Edges.
Click Apply to close the “HTTP/HTTPS Load Balancer” dialogue.
Click Apply to close the “Advertise On Internet” dialogue.
Click Apply to close the “Service” dialogue.
Click Save and Exit to create the Workload.
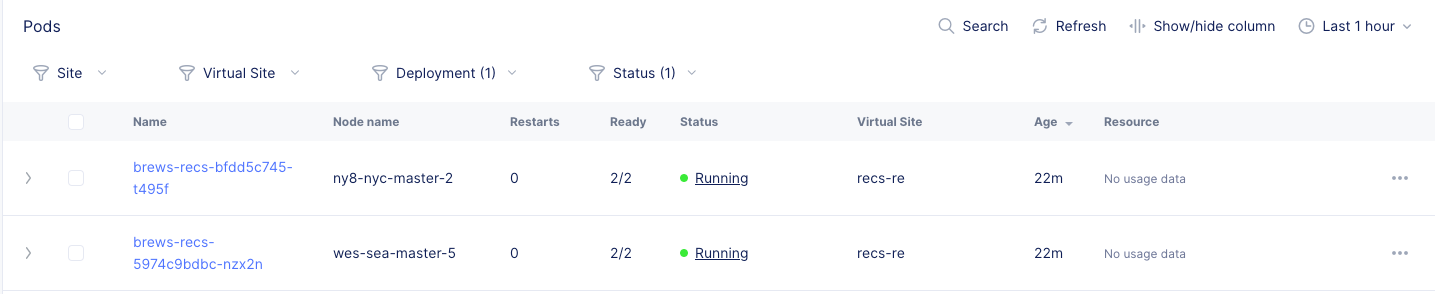
Verify the workload.

Exercise 3: Reconfigure the SPA to use the “Recommendations” feature.
Now that “recommendations” service is online, we need to reconfigure the SPA to use it.
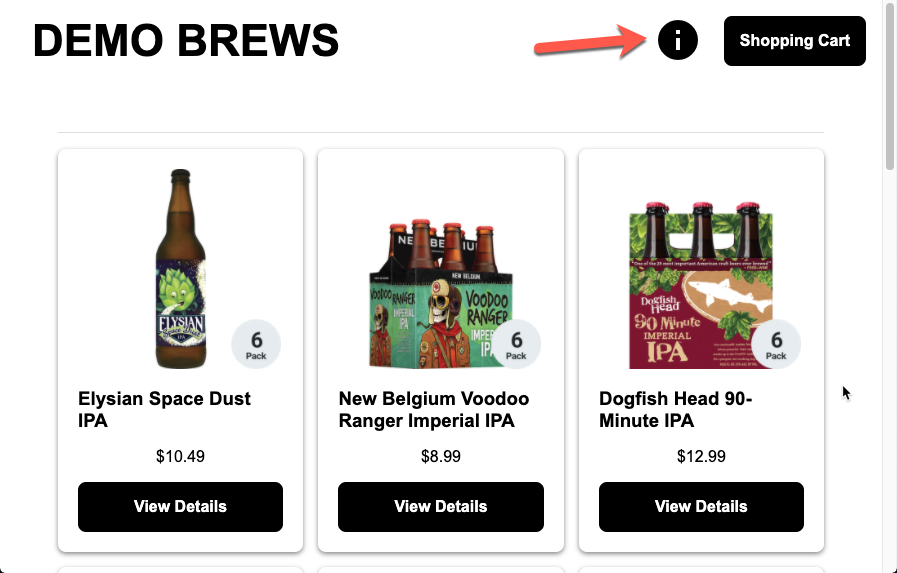
Open the demo application in your browser
Note
If you do not remember the FQDN, you can look under Manage -> HTTP Load Balancers to find it.
Click on the information icon
Click on the gear icon for the “Recommendations” service.
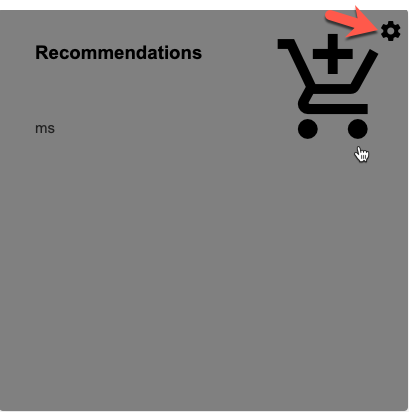
Enter the domain we added to the “brews-recs” HTTP Load Balancer.
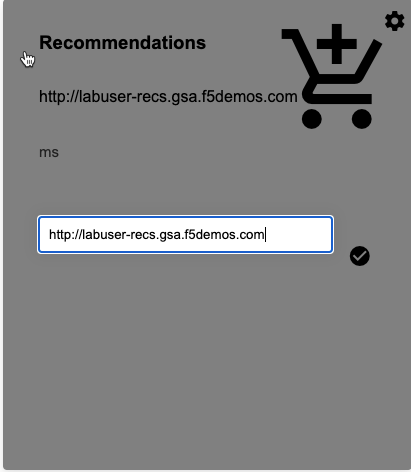
Click the button or press Enter
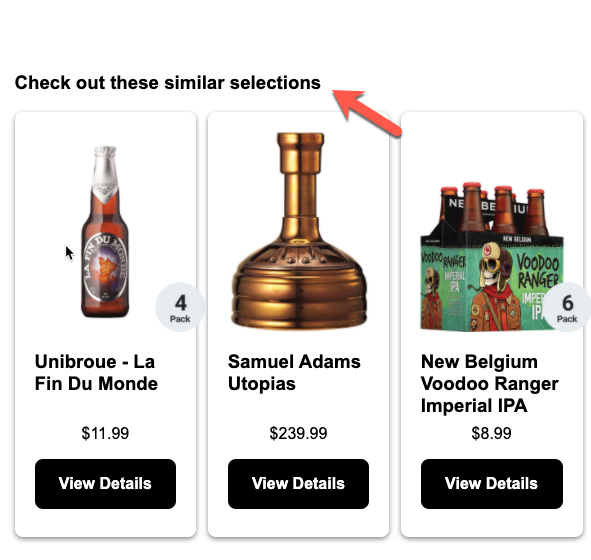
If everything is working correctly, your “Recommendations” card should not turn red. HTTP response time statistics should start being populated in the card. When you view product details in the main application, you should see additional brew recommendations.
Packet flow
Below is the packet flow for the architecture you just deployed in Volterra.
Attention
Congratulations, you have reached the end of this core exercises of this course!.

If you are interested in completing the optional exercises, please feel free to click next to continue.